#MAKERSPACE AFICIONADO & ADVOCATE
  • Home
  • the journey
  • me
    • Resume
    • playtime
  • Presentations
    • microbit
    • MakerSpaces
    • LowCostLowTechMakerMaterials
    • MakerMarketSchool
    • ScreenCasting >
      • what is it
      • examples
      • why do this
      • how to make them available
      • recording tools
      • microphones
      • web hosting
      • iPad options
      • tips
      • resources
    • StudentVoicesForAssessment >
      • Why
      • StudentVoicesExamples
      • Tools to Create
      • TurningInTheWork
      • TechnicalIssues
      • OtherIdeas
      • YourTurn
    • Tweet Yourself Right
    • EducationalVision
    • Wearables
  • MakerIdeas
    • MakerResources
    • LowCostLowTech
  • Coding&Robotics
    • MakeCode
    • microbit
    • Makerbit
    • bitbooster
    • CRICKIT
    • kittenbot
    • CircuitPlaygroundExpress
    • Edison
    • FiriaLabs
    • VEX
  • Maker Van
  • resonance
    • books
    • videos
    • education & science issues

Ideas along the journey

I am a Maker Centered Learning Aficionado and Advocate. I am a Maker.
I love to visit people and places doing things with Maker and STEAM and learn from them   
I will share some experiences & ideas on my journey to becoming a better learner
.
Wanna chat about 
#MakerCenteredLearning and/or #MakerSpace?
Fill in the form at the bottom right and I will be in touch

CuttingBoardsRedux

12/11/2018

0 Comments

 
It’s not like I spend all day watching Hallmark movies…

I have been working on things. Twitter conversations, researching big ideas, visiting a few places.  Naps. I need to get after reading more of my books and more detail on my Mobile #MakerSpace research. And more woodworking.

Picture
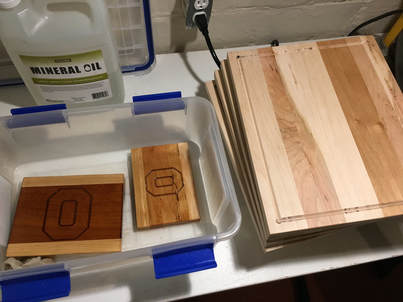
I do have several cutting boards in process. I decided to buy a small router table for several reasons, one was so that I could route the juice track in a “larger” board. My CNC router machine only does 12” x 13” , which is an okay size. I wanted to try a bit bigger, so I made some 12” x 15” for Christmas presents.

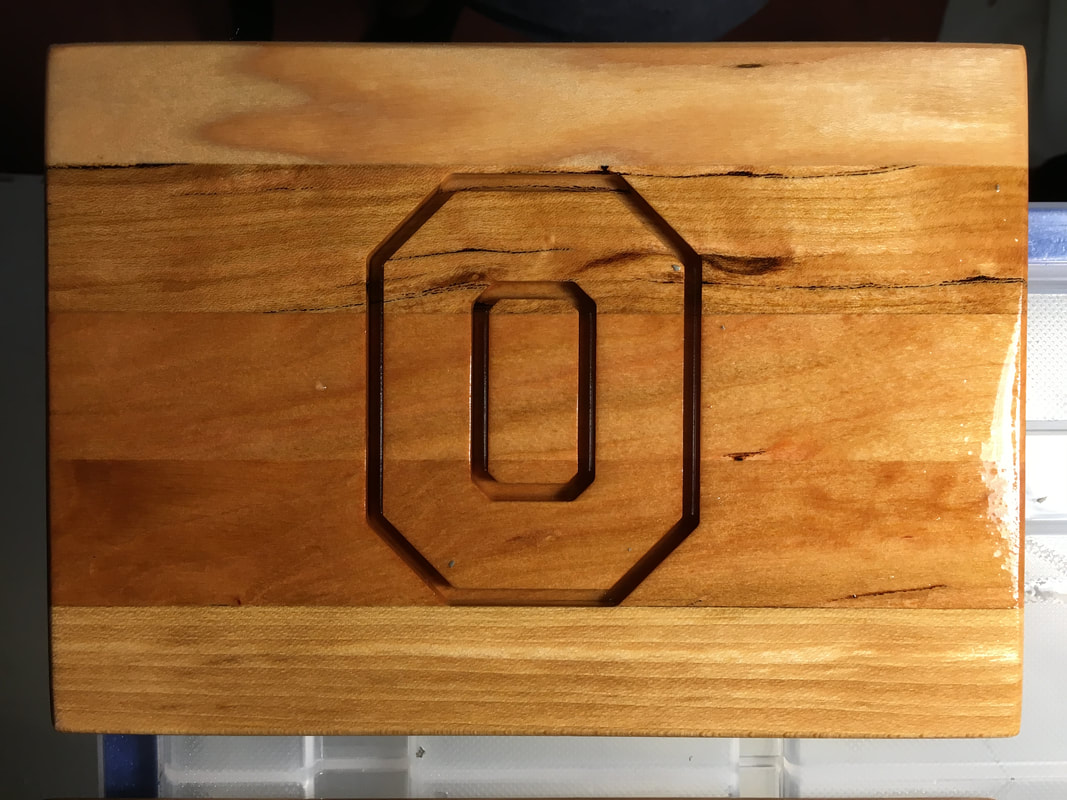
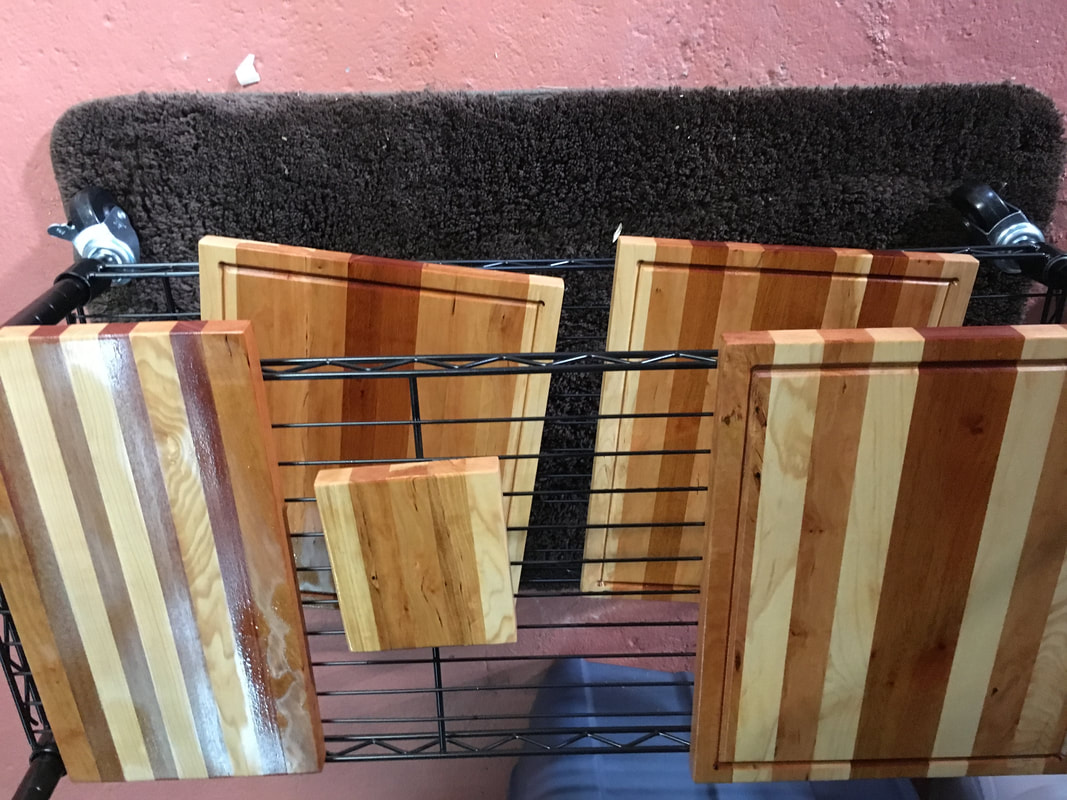
The hardest part is setting up stops for the beginning and end of the track : measuring carefully with the combination square and affixing pieces of wood as stops. You need to check after running it across the router that you got a nice even track. The router bit wants to push up on the board, so you have to keep a good down pressure, and a pretty smooth/even push to the left. The tracks came out okay. I could have been better at lining up the second set of tracks so they met perfectly in the end of the first tracks. But this might be because each board is not exactly the same size. A quarter inch is size also makes the tracks a quarter inch different. Also there was a little burning of the wood in the ends, but that is just additional character.


My sister-in-law wanted a small “block O” board for her boss. That was just a matter of getting an image into the CNC software and converting a couple of the block O lines into vectors. I am still a little wary of my CNC because of the depth problem it was having this summer (sometimes forgetting where z=0 was). But they came out good, even though one did not end up perfectly centered.

Here is a video talking about using the router table to cut juice track :

Sometimes I use the edge grain as the top/bottom of the board, sometimes I use face grain. Gum cherry has a really nice face that I want to show off.

As a reminder, here are the steps for making a cutting board :
1) pick some 1” x 6”wood (I use cherry, maple, and mahogany )

2) cut slightly larger than size (use miter saw or table saw)
3) get one clean/smooth edge (jointer, straight edge with table saw, or possibly router)
4) rip strips using the clean edge as the guide (table saw) (i do about 1 ¼” wide)
5) plane all 4 sides of strips to get rid of saw marks, roughness and get good edges to glue. Mainly work on the sides of the strips that will be glued together ; don’t plane top of board too much, you will plane this again.
6) Glue and clamp together (you can never have too many clamps. I tend to use 5 per board : 3 for side to side and 2 on each end for top to bottom thickness as the side to side pressure wants to push a board or two up) I let them sit for a day, but I think they are done after a few hours.
7) Plane top & bottom smooth
8) cut to finished dimensions (table saw)
9) route juice track or pattern that you want (router table or cnc router or handheld if you are good)
10) Sand. Sand. Sand. I use1 20 grit, then 220, then 320. The 120 & 220 are on my orbital sander. Sometimes on the ends cut with the table saw it will be easier to remove the saw marks with a belt sander, but be careful and go lightly. Being end grain, this can gouge and curve it very easily. Then I use 320 by hand.
11) Mineral oil. I have been putting on a coat, letting it sit for a day, and doing that 3 times
12) Conditioner. The final step is a mineral oil-beeswax conditioner coat. Let sit for a day.
13) Buff , remove any excess conditioner

Picture
0 Comments

Your comment will be posted after it is approved.


Leave a Reply.

    Archives

    March 2020
    February 2020
    January 2020
    December 2019
    November 2019
    October 2019
    September 2019
    August 2019
    July 2019
    June 2019
    May 2019
    April 2019
    March 2019
    February 2019
    January 2019
    December 2018
    November 2018
    October 2018
    August 2018
    July 2018
    June 2018
    May 2018
    March 2018
    February 2018
    December 2017
    September 2017
    August 2017
    July 2017
    May 2017
    March 2017
    August 2015
    July 2015
    June 2015
    August 2012
    July 2012

    Categories

    All

    RSS Feed

      Want to talk more?

    Submit
Proudly powered by Weebly
  • Home
  • the journey
  • me
    • Resume
    • playtime
  • Presentations
    • microbit
    • MakerSpaces
    • LowCostLowTechMakerMaterials
    • MakerMarketSchool
    • ScreenCasting >
      • what is it
      • examples
      • why do this
      • how to make them available
      • recording tools
      • microphones
      • web hosting
      • iPad options
      • tips
      • resources
    • StudentVoicesForAssessment >
      • Why
      • StudentVoicesExamples
      • Tools to Create
      • TurningInTheWork
      • TechnicalIssues
      • OtherIdeas
      • YourTurn
    • Tweet Yourself Right
    • EducationalVision
    • Wearables
  • MakerIdeas
    • MakerResources
    • LowCostLowTech
  • Coding&Robotics
    • MakeCode
    • microbit
    • Makerbit
    • bitbooster
    • CRICKIT
    • kittenbot
    • CircuitPlaygroundExpress
    • Edison
    • FiriaLabs
    • VEX
  • Maker Van
  • resonance
    • books
    • videos
    • education & science issues