|
I have taken the position of Maker Education Specialist at Indiana University School of Education (Bloomington). The main job is to run the Uplands Maker Mobile ( https://education.indiana.edu/community/maker-education/maker-mobile/index.html )
It is a grant funded position (& some corporate sponsors), so it is for one year… something we have to work on (funding & sustainability). The core function is to take a van of tools & materials (& expertise) to schools and help them incorporate more making and STEM. There are so many places in the region that want and can use our help, schools and others (4H, Boys & Girls Clubs, Libraries, companies needing employees with better skills…). I will not be at IU very much, as the job is to be in schools. We have to figure a focus because we can’t help everybody (can’t be all things to all people). The drive down and the first couple of days have been foggy, misty and rainy. Gas is $3.50 - $3.85. Some groceries are much more expensive. I have to figure out where to live. The weeks before the holiday I am living in a hotel. Then back to Ohio for the holidays and back to Indiana after the 1st. Living in Bloomington doesn’t make sense if most of the work is NOT in Bloomington area (11 counties). Bedford is a town 35 minutes south of Bloomington on a main highway. That might be a good place - if I can find a rental for a year. There is lots of onboarding at a University. Lots of people to figure out at the University to get things done (like can I create a website or does it have to be a “University” site). There is much I need to learn about what has already been happening (the van ran for almost a year, but has not been in operation for the past 6 months - the person left for a different STEM van). Lots of people to meet, lots of contacts and connections to make at schools. There is no Facebook or YouTube channel. Lots of things to do in addition to going to schools.
0 Comments
Kent State held their latest Learning Innovations Conference Series on November 4th, 2022. The theme was Maker Education. John Spencer was the opening Keynote speaker. John’s talks and books focus on Design Thinking , Project Based Learning (PBL through Design Thinking) … Creativity, Curiosity, Empowering students…Making. He reminded us that “we are all “Under Construction” ” . One of his teachers when he was young, Mrs. Smoot, told him “when you hide your voice, you rob the world of your creativity”. I think this is very true. One of our roles as educators should be helping students find their voice to unleash their inner creativity. He likes to say “making is magic” and it is in the sense that it transforms things like learning and people. Technology does not transform learning, Technology becomes obsolete. The skills you learn and use (while making) don’t become obsolete. These skills are “Timeless skills” essential skills that are not “soft” at all. They aren’t 2st century skills , they apply in all centuries. He likes the term “Vintage Innovation” to talk about doing different AND better, overlap of the “tried and true” and the “never tried.”. Mashing up lo fi and new tech, cutting edge tech with old skills. Students need to be curious and ask TONS of questions. I thin Curiosity is the first C in education that leads to all the rest (Creativity, Critical Thinking, Communication, Collaboration). We need to develop the skill of “problem finder” not just “problem solver”. We also need to know the difference between “FAILure” and “FAILing” one is permanent, one is a stepping stone (temporary). Embrace failing…it happens all the time to everyone. What’s next mentality… Lots of “inventors” with great inventions have closets and rooms full of things that didnt work. S3 technologies lead a session about Makerspace ideas. They shared the connection with Makerspace ideas and John Hattie research on affect. Some of the things that happen in a MakerSpace that have large affect numbers are: Meta-cognition strategies (0.55) Self-efficacy (0.65) Creativity programs (0.70) Feedback (0.72) Reciprocal teaching (0.74) Evaluation and reflection (0.75) Planning and prediction (0.76) Transfer strategies (0.86) Cognitive task analysis (1.29) They also shared the Technology Integration Matrix (TIM) developed by the Florida Center for Instructional Technology. It helps educators intentionally and strategically use technology to enhance and propel student learning. 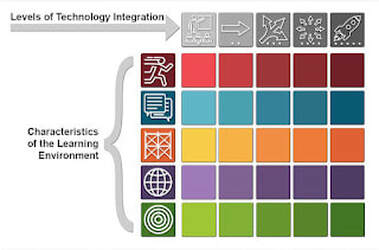 Vicki Turner shared about the “Nitty Gritty” of managing a Makerspace. She reminded us that it will always be “you don’t quite know how to do it”. Admin needs to be involved as much as you can get them. I have spoken with Michael Triska at NORT2H along these lines. Many admin come to their building and he wants to have a Makerspace setup in the atrium so that admins see it and play with it. We need them to get their hands on. I think we need an admin Maker bootcamp in the summer. Makerspaces will always be a mess and will always have storage issues. You will have to repair and fix stuff, or call in the manufacturer to do so. They often need more electrical than the existing space has. Get mobile with stuff Husky too carts are good. Budge the kids and get student helpers. Display the student work EVERYWHERE, even central office. Train ALL your staff and admin on tools and skills. Accept ALL donations, even if you might not use it…you never know what idea or positive interactions it will generate. And get lots of books (I agree). I presented about Maker Centered Learning across the curriculum. We talked about ideas in various classrooms. But the first thing we did was dump out a ziploc bag of stuff and built something. Maker needs to be experienced, not just seen and heard. Maker is good for our social and emotional health. Everyone said they felt good after making something. Here are my slides if you are interested (i have others also) https://bit.ly/mclksu2022 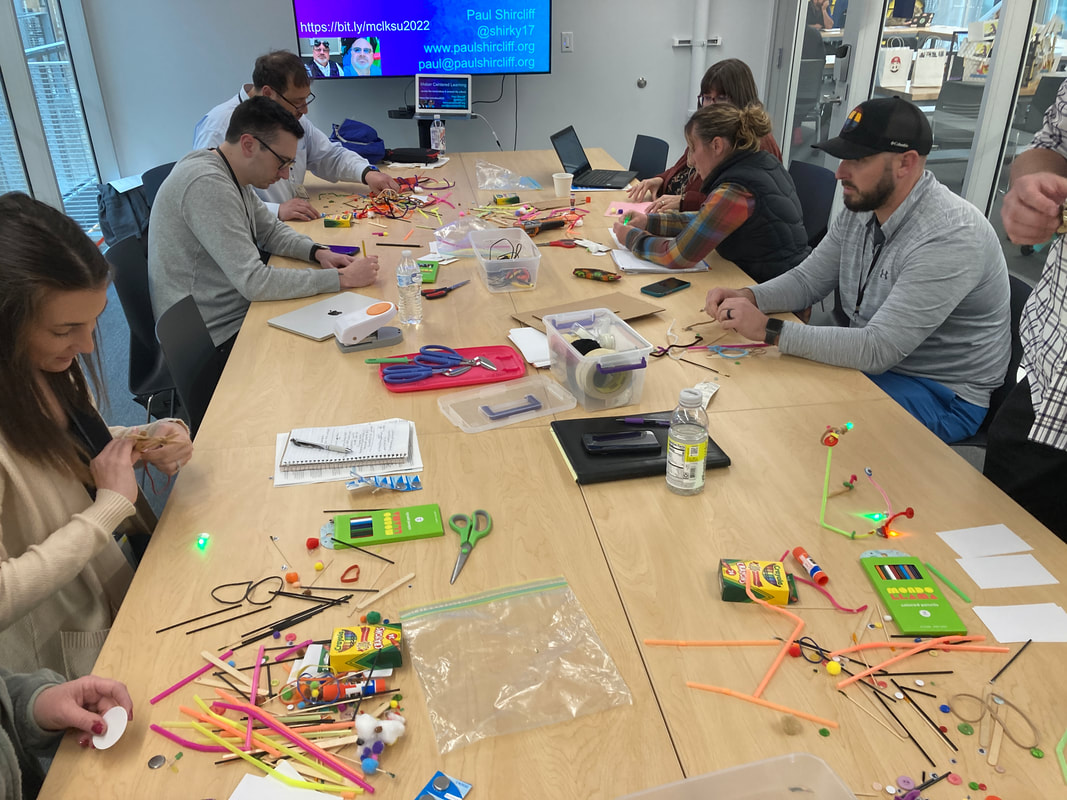 Afterwards, I chatted with Erika Cousineau from the Girl Scouts, Colleen Cosgrove from the Boy Scouts and John Spencer. We had a nice chat, sometimes about maker ideas and questions, sometimes about personal stuff. Nice, casual learning and connections. We need more time like this. I shared my idea of an Oregon Maker Conference (John lives in Oregon). I want to do a 3 day conference. Maker tools and ideas in the morning. Lunch and afternoon visiting 2 wineries. Evening dinner together and a bonfire. Do that for 3 days. Lots of casual time where we can share and talk about things we learned/did in the morning and percolate ideas. John did bring up a great question/issue : how do we create access to Makerspaces OUTSIDE of school? for kids, for families... Why havent community/local Makerspaces thrived (there have been several national businesses that tried and failed)...
I think the next Learning Innovations needs to be hands on Maker. Like PittFab & ChattFab and FabPlay. (addendum) At the same time that I was presenting, there was a session/panel on creating a NEO Maker network (some thing I have been talking to people about for a couple of years). I am hopeful that we can create one because it can only help people... "the smartest person in the room is the room" applies to networks...also "I may be smart, but my network is genius" works also (thanks Kevin Honeycutt). I think we should have quarterly events at various spaces where we come together and make something. Maybe an annual Edcamp and a MakerFaire. I don't know if newsletters do any good -- I am trying a blog (and need people to be guest Bloggers to share their stories). The network should run the annual Summit-Portage FabPlay workshop ...and maybe some others, maybe a bunch of summer camps. Maybe we could work on that issue John brought up - getting out of school access to Makerspaces. (I want a Mobile Makerspace that can go anywhere anytime...that is a whole other blog)
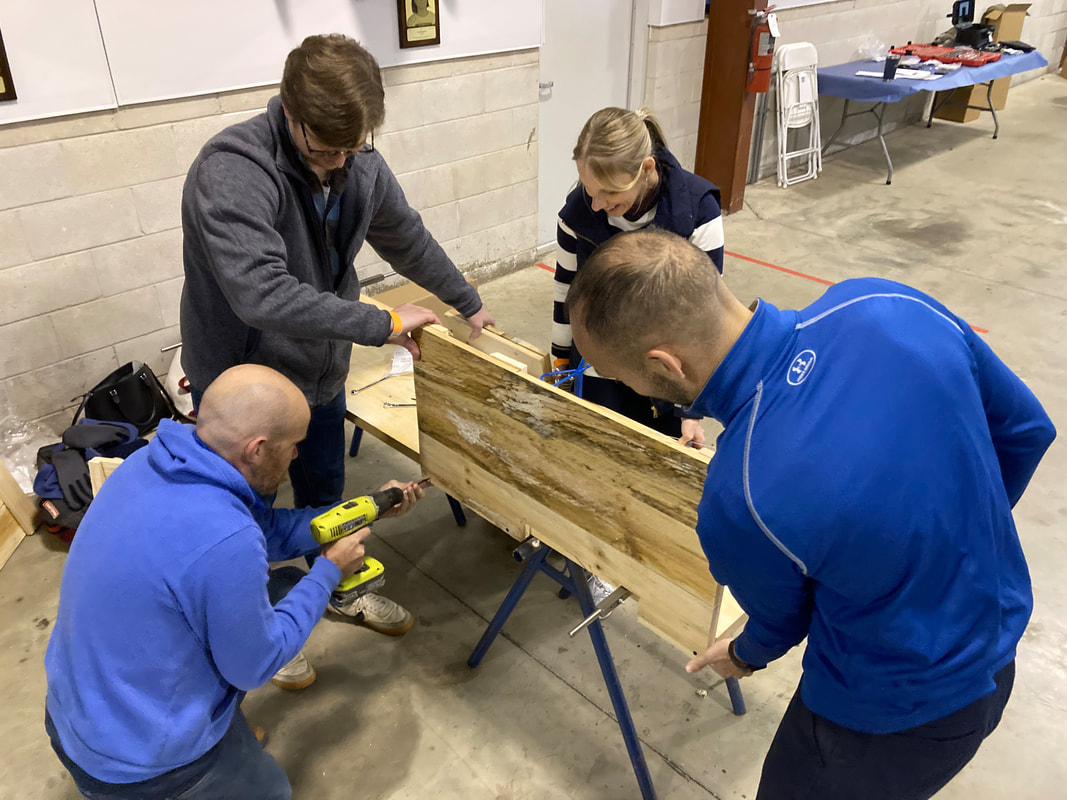
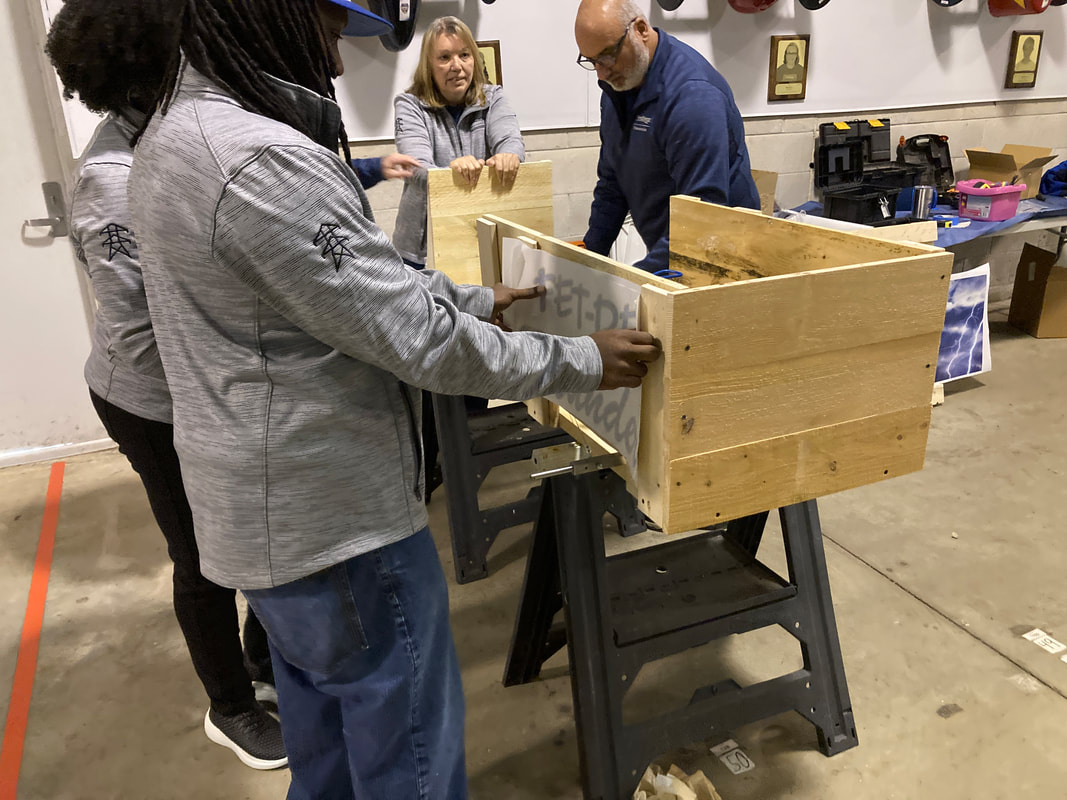
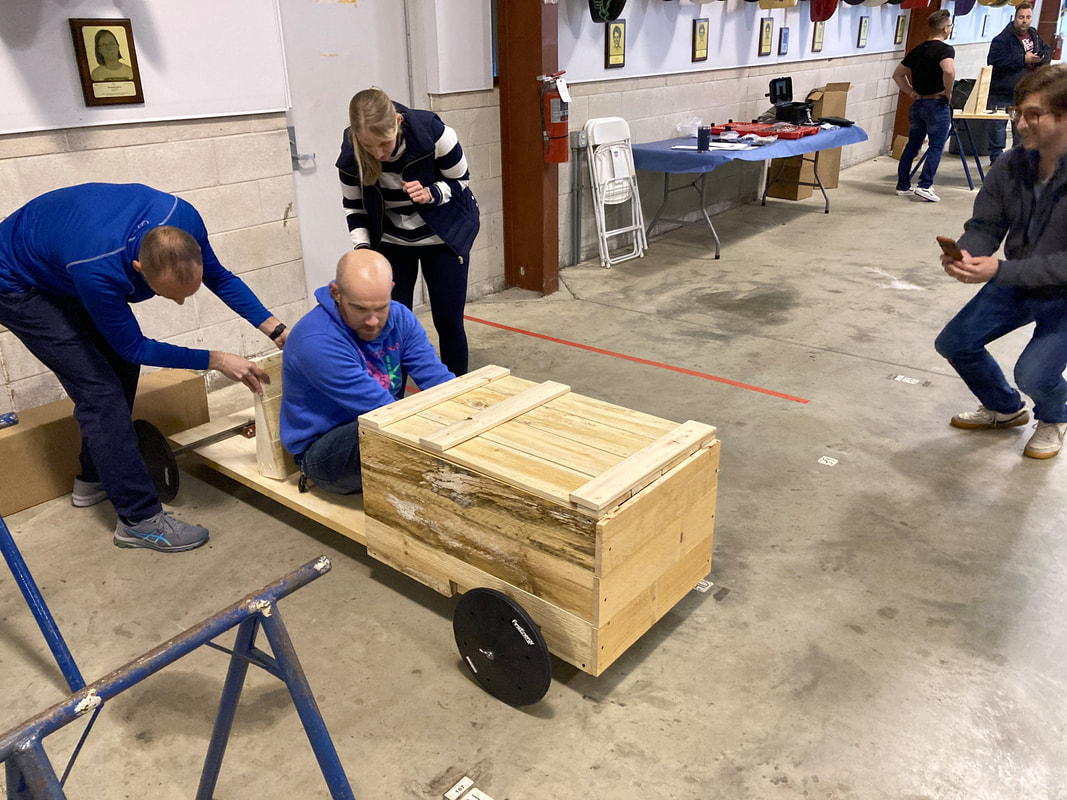
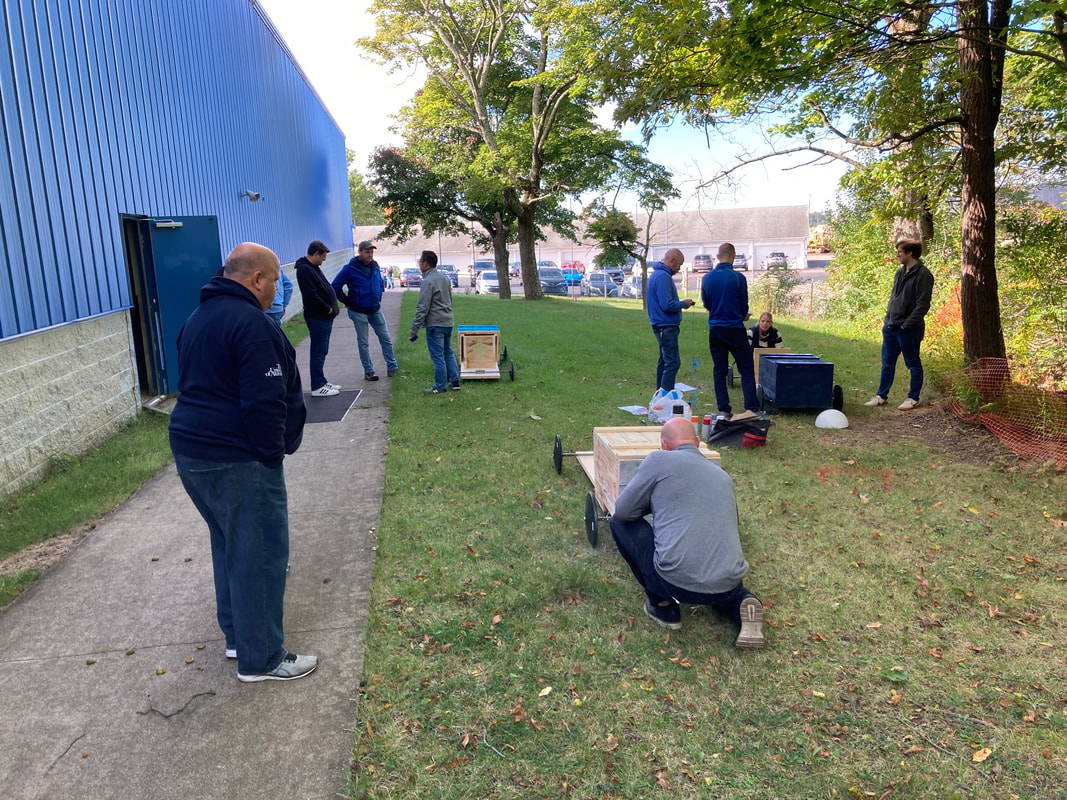
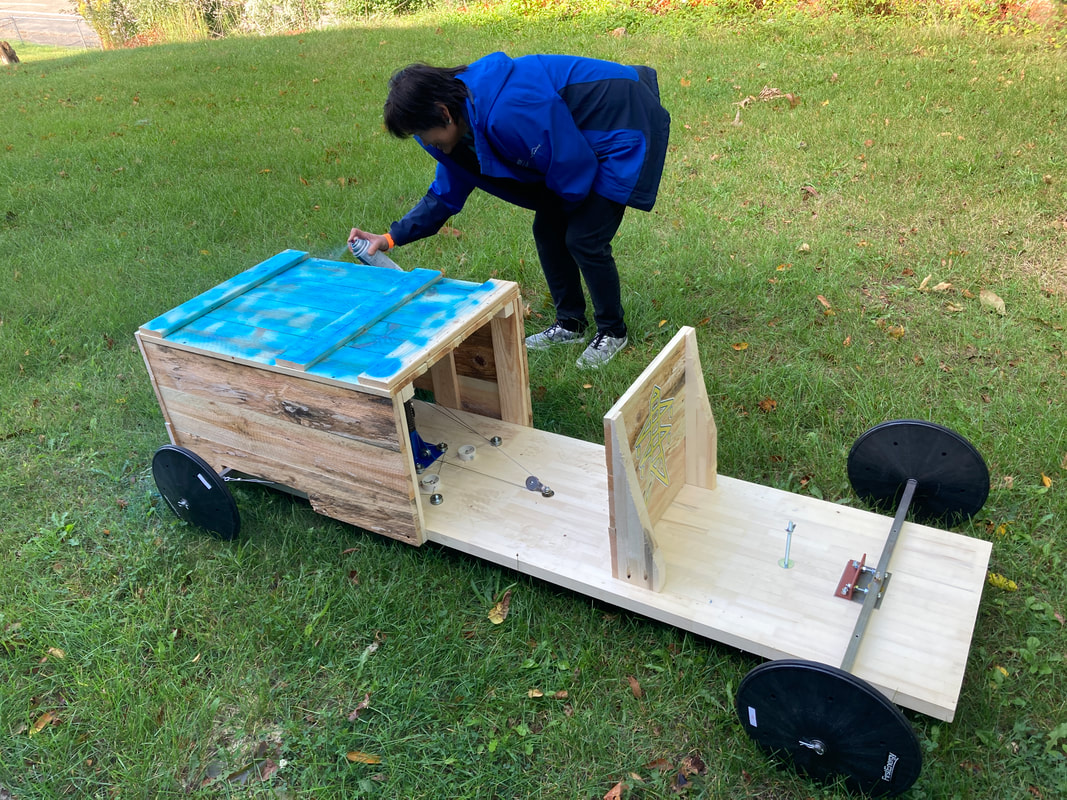
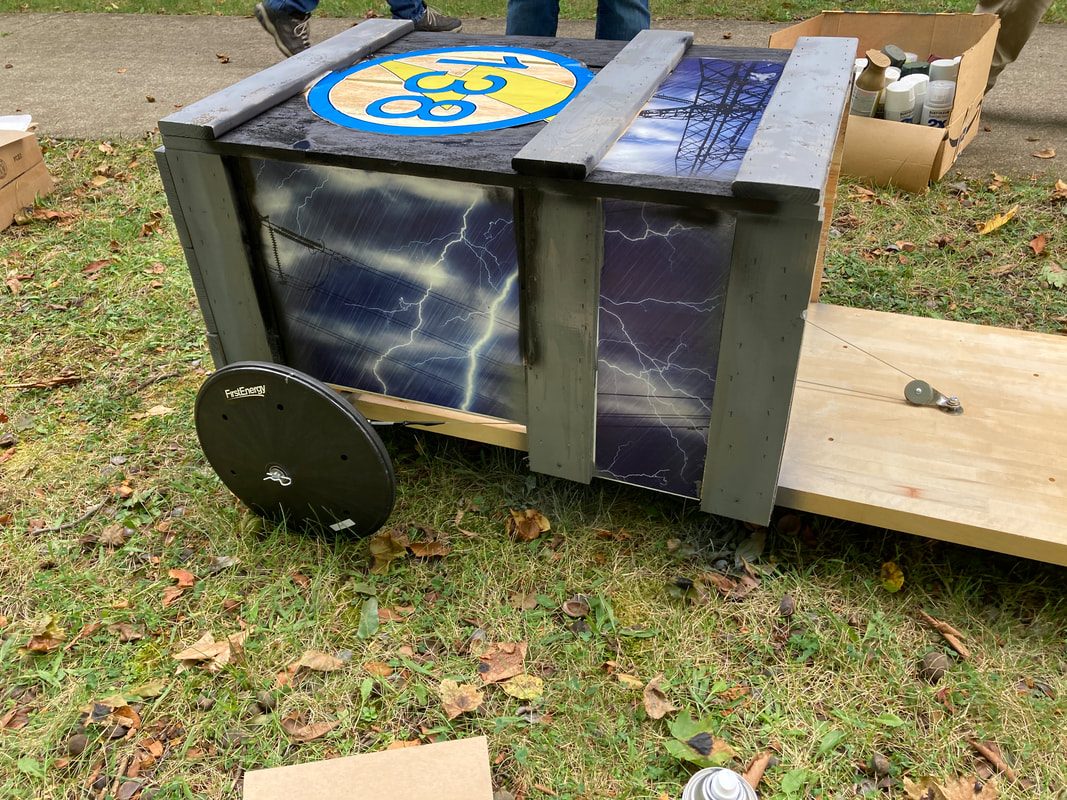
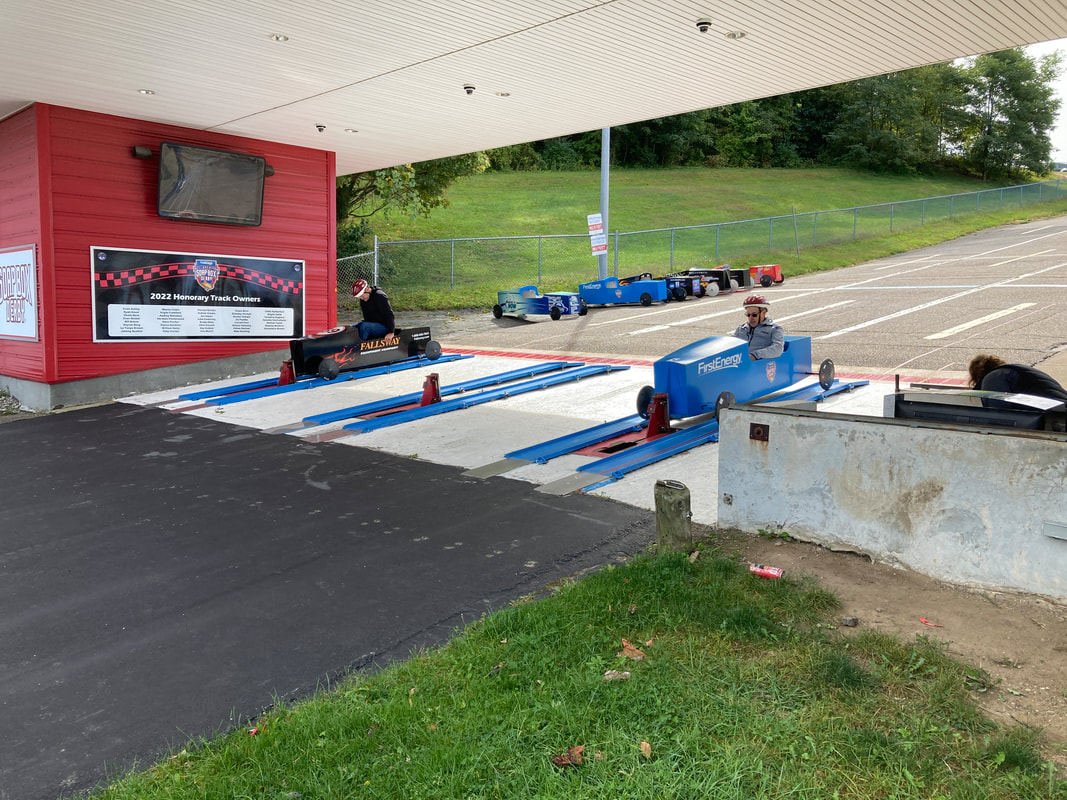
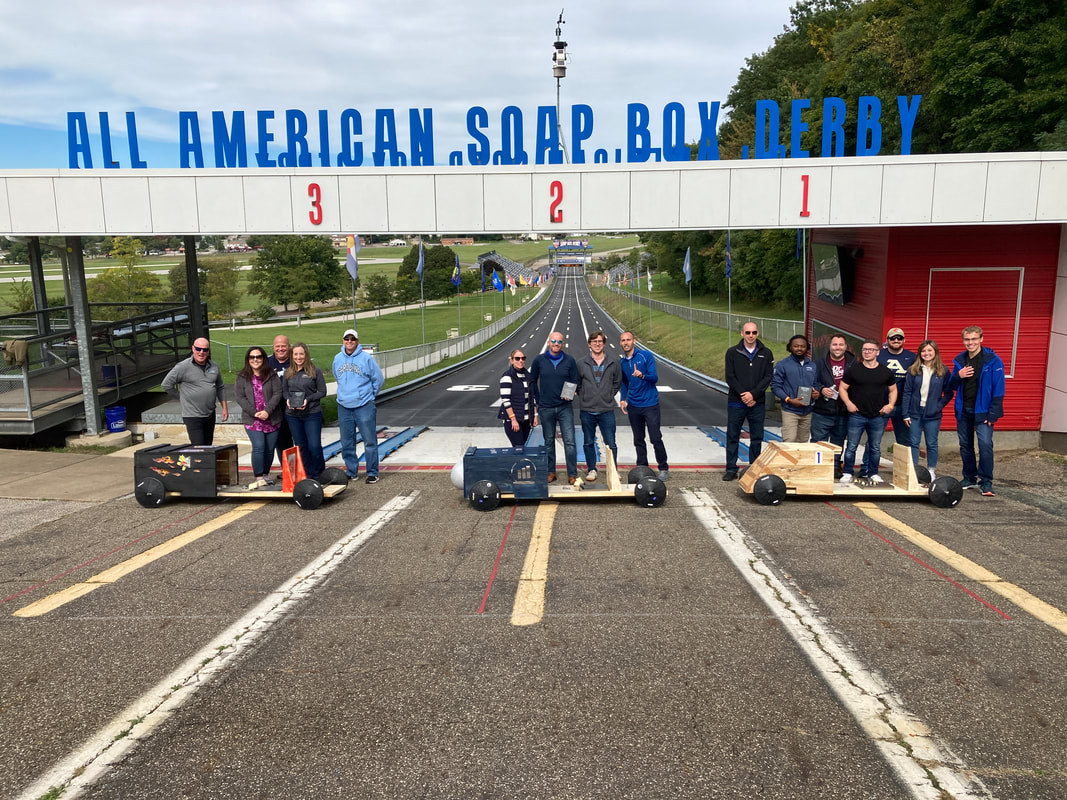
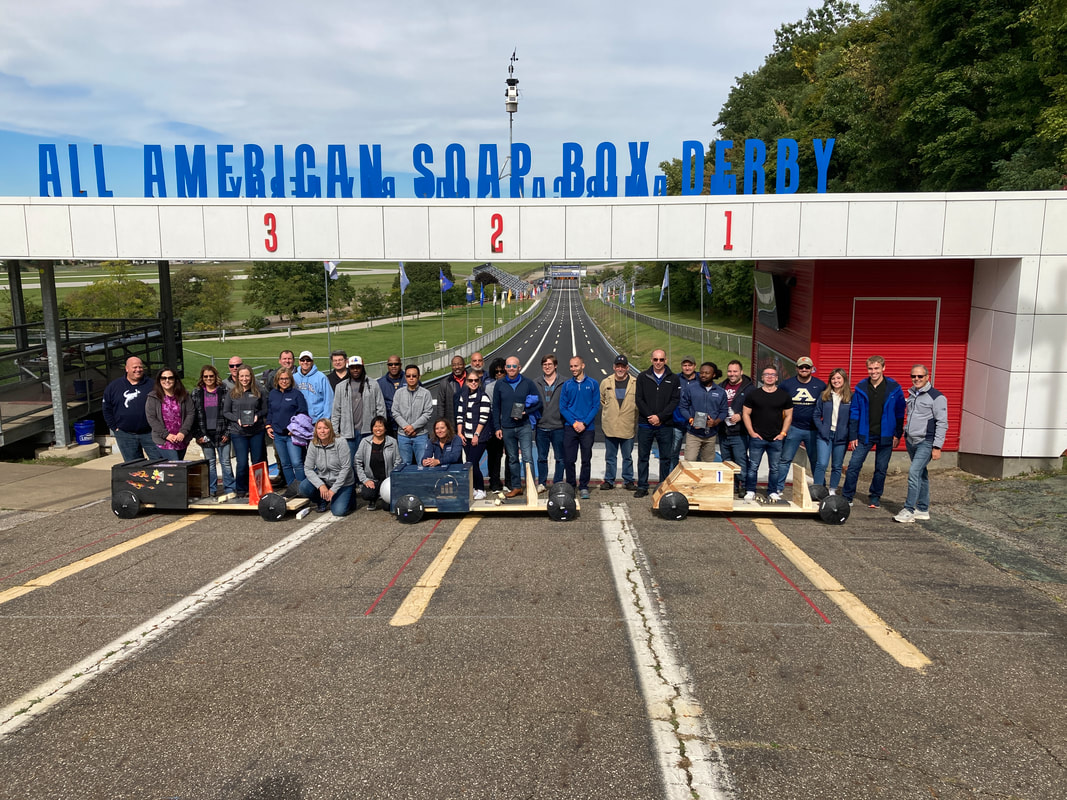
The All American/International Soapbox Derby holds corporate/team building events at Derby Downs. You organize a team or sets of teams, buy a car kit ($1500???), then come to Derby Downs to build and race it. It takes about 3 hours to build an adult size car, You can decorate it any way you want. Then you have lunch and get to racing. I spent the day with 6 teams from First Energy.
by the way... the Accounts won 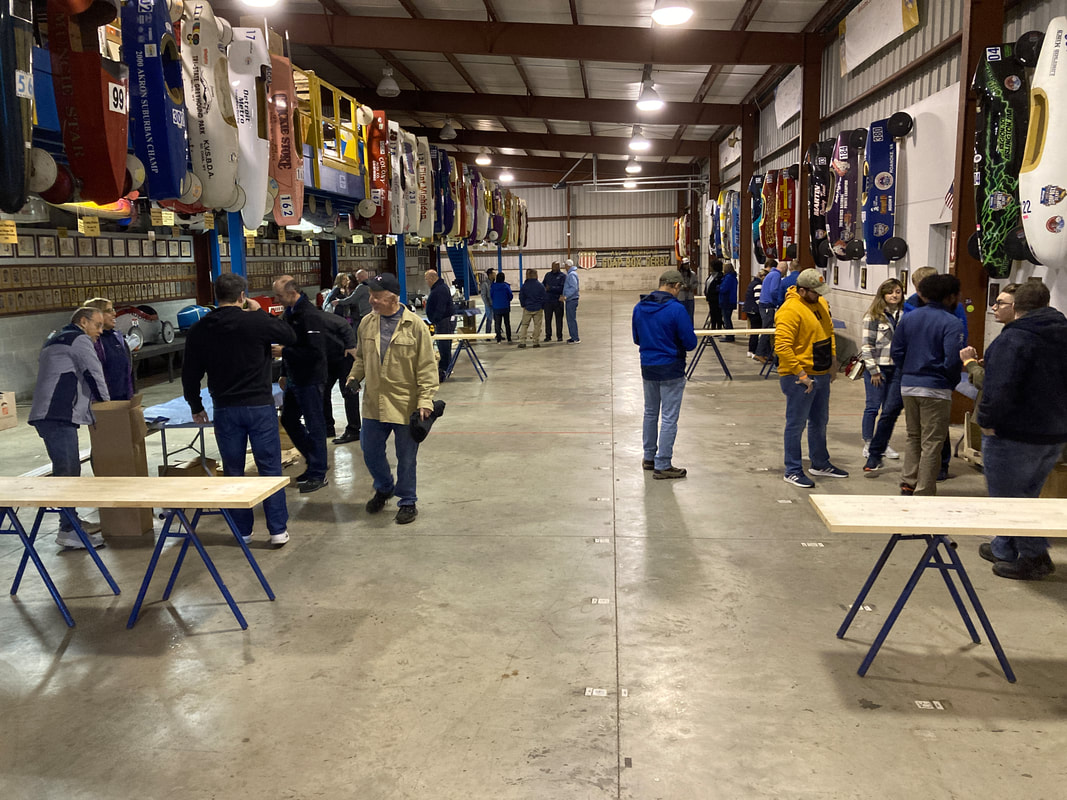

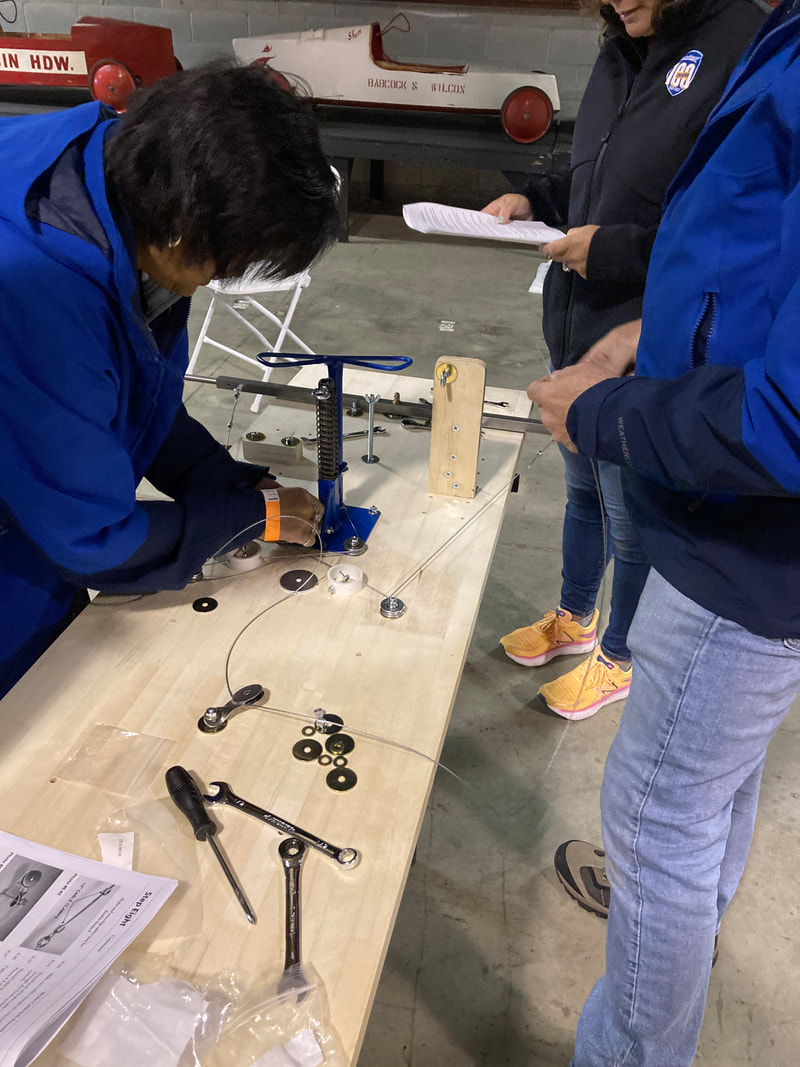
It is a nice day. It is a fun day.
You can take the car home or leave it for AASBD to scavenge for parts. Derby Downs also has other options to have events there As of 9/30, they had held 80 events this year at the track (a variety of community, corporate & private) , in addition to the annual Finals competition. Here are the rest of the pictures I took : |
Archives
December 2022
Categories |
 RSS Feed