 I have a roughly 5’x50’ area between my evergreen tree bed and the sidewalk that is getting very difficult to cut the grass, being bumpy and full of ruts. I think I will turn the space into a bed with planting boxes. I am thinking flowers and herbs, maybe some community herbs? I would love to use decorative stone/rocks, like lava rock, but cant afford that (250 sq ft, 2” thick, about 42 cu ft - lava rock $10 per cu ft in bags vs mulch $30 per 27 cu ft). I am working on a variety of boxes, mostly from cedar fence pickets. My main materials are : a) 1 x 6 x 6' Cedar Dog Ear Fence Picket (Actual Size 5/8" x 5-1/2" x 6') Menards $4 b) 1 x 4 x 5' Cedar Dog Ear Fence Picket (Actual Size 5/8" x 3-1/2" x 5') Menards $2.30 c) 20’ hose clamp https://www.amazon.com/dp/B09GTWY8BT?th=1 $15 d) Half & Half https://www.realmilkpaint.com/shop/oils/half-and-half/ https://www.amazon.com/gp/product/B00HYHQJVG/?th=1 My tools are : Mitre/chop saw, table saw, band saw, sawzall, palm sander, belt sander, lots of wood clamps, wood glue, brad nailer, tie/ratchet straps A) Two 12 sided boxes (22” & 14” heights). I cut 1”x6”x6’ pickets to length, then ripped a 15 degree bevel on the 2 long sides with a table saw. I glued them together, wrapping them with tie down/wratchet straps and rope to keep them tight while the glue dried. (these were very difficult to get glued and put together, handling 12 boards that all want to fall down…) On the inside, at the bottom, I put some 1”x 2” strips to hold the bottom of the planter, which was made by cutting a 1”x6”x6” picket to fit the 12 sided shape (one rectangular piece in the middle, 2- 6” trapezoids and 2- 1” trapezoids cut on the band saw). I added a large hose clamp around the outside of the planter as extra insurance to hold together when I add dirt (2 for the 22” tall, 1 for the 14”). I painted/sealed it with Milk Paint Half and Half (tung oil/citrus solvent combo) using a paint brush. The main reason for this is to try to protect the color of the cedar. (22” ~$28 ; 14” ~$24)  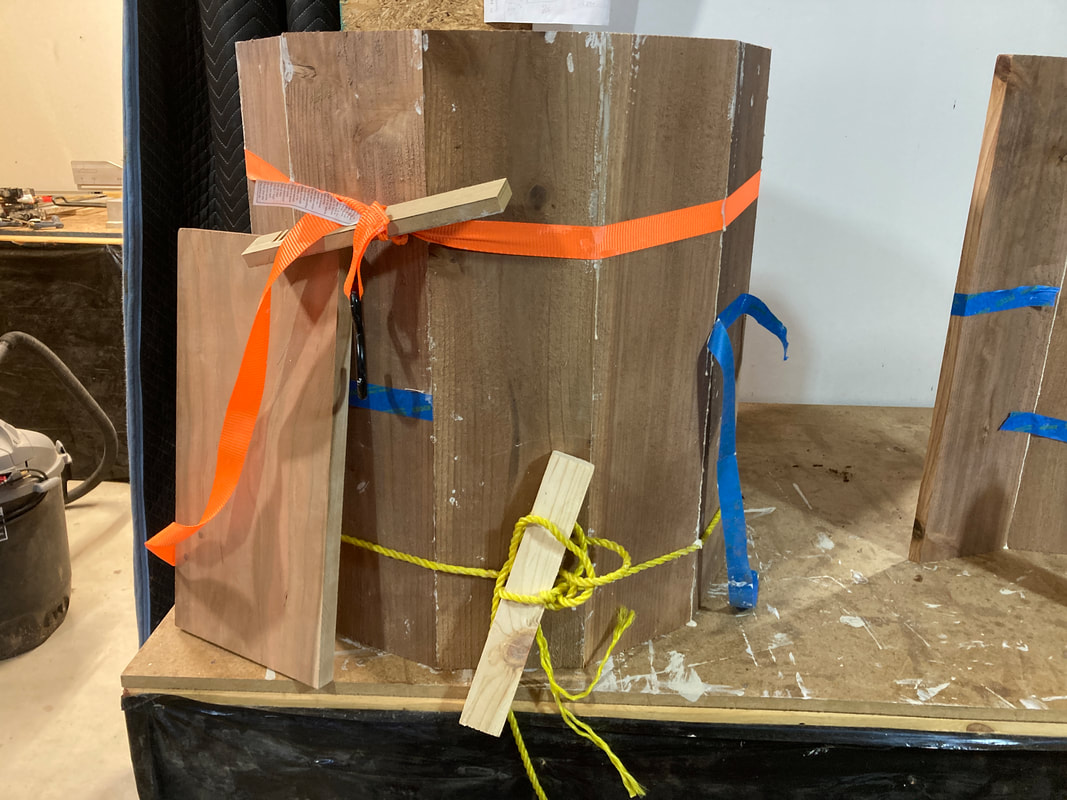 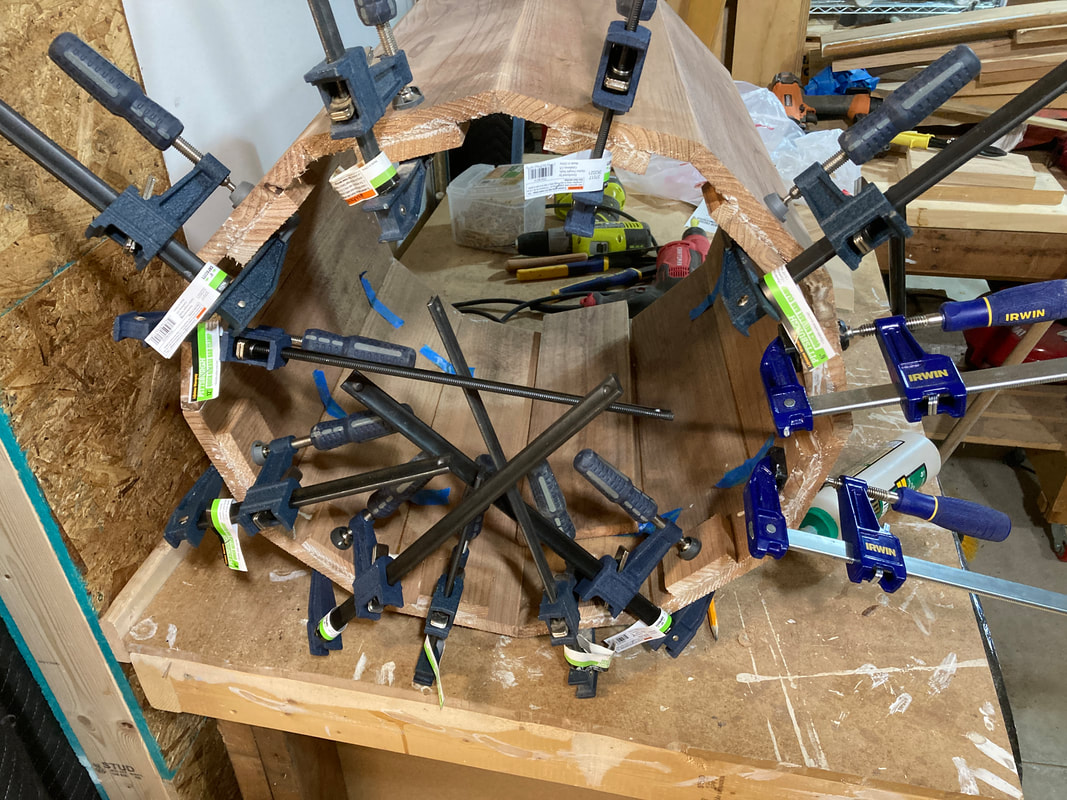 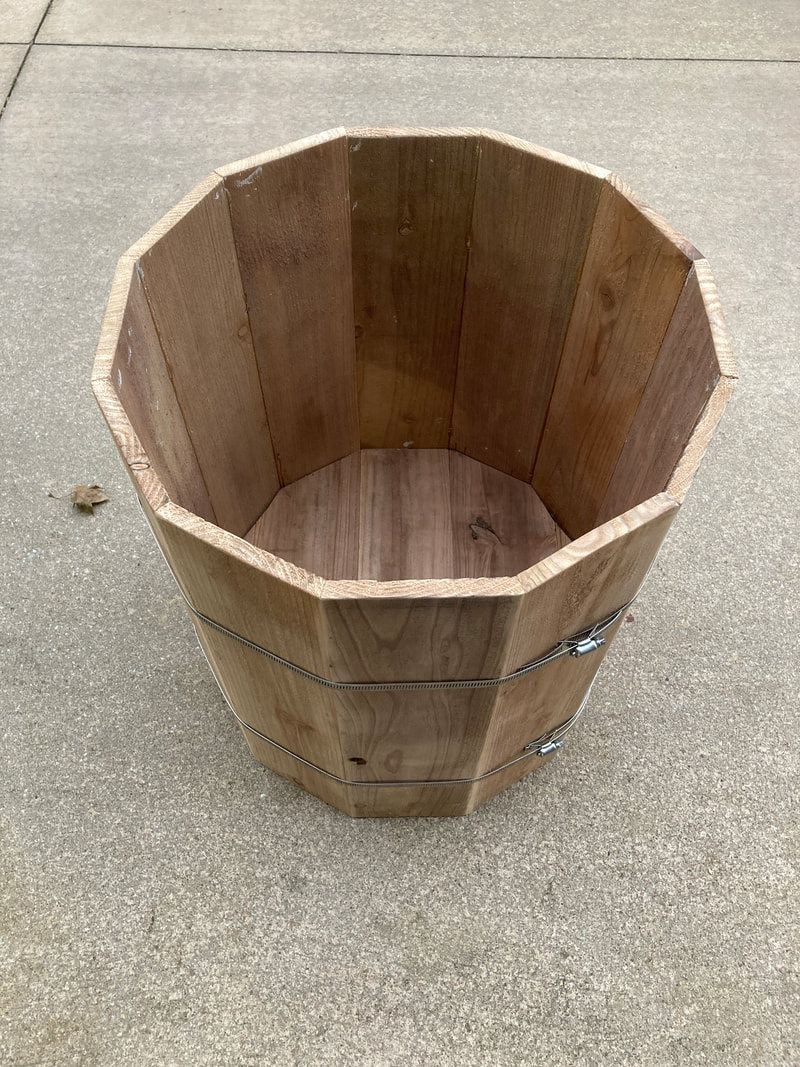 B) octagon boxes I want to make a box that the sides are glued/attached to an inner piece at each junction (just to be different)….but I cannot figure out how to rip the 67.5 degree angle. I imagine I could 3D print something, or bend metal…but trying to keep it all wood. In messing around with this, I experimented with cutting the various bevels on both ends of a piece of 2x4…then decided to make an octagon box out of 2x4. I cut 24 pieces to 7 inch lengths, then beveled the ends at 22.5 degrees. There are 24 pieces to have 3 levels, so the height is about 10.5”. I glued each set of 8 pieces together, one of them I used a brad nailer to make them stick together, the other 2 I used a newly purchased tie strap to squeeze them tight (i bought new ones b/c my others were too long and i didnt want to cut them.) I coated them with Half & Half and will put them on top of each other, rotating each level half the length of a board, just to be fancy. For the bottom I will glue up some 1”x6” cedar fence picket pieces and cut to the shape of the octagon, then glued to the bottom. (I had scrap 2x4, so didnt buy any wood but currently would cost ~$10-14 ; maybe $20 depending on need for 1 cedar picket for bottom) 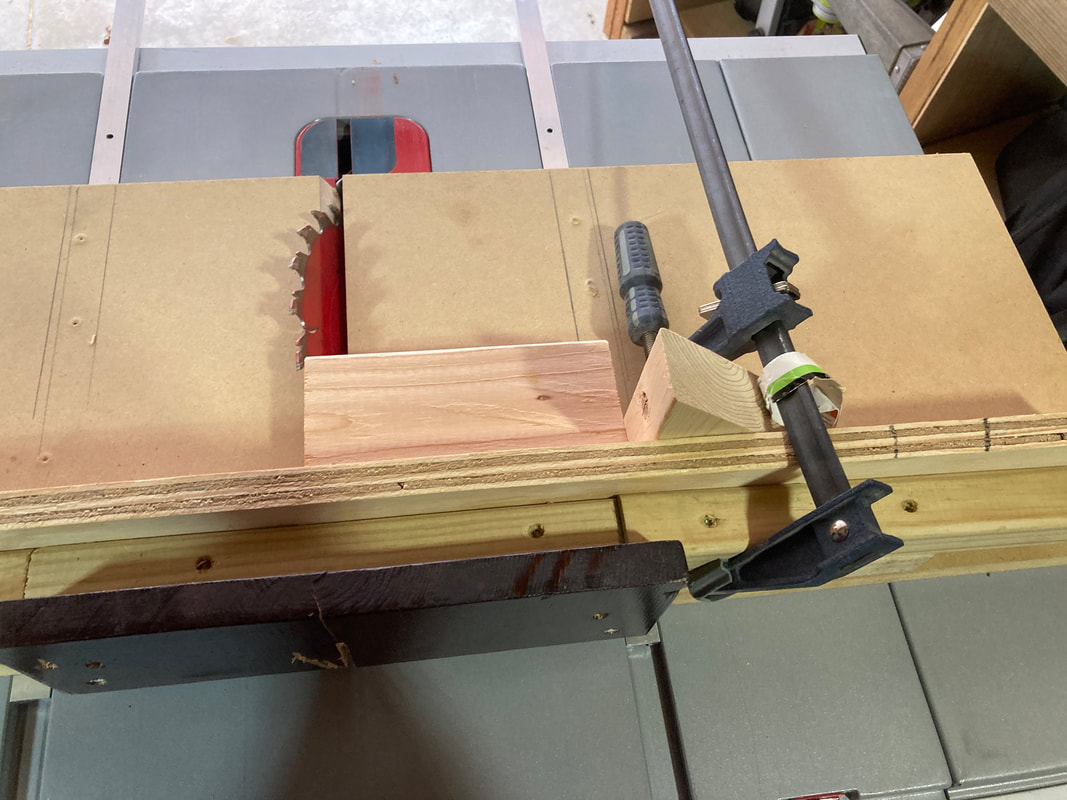 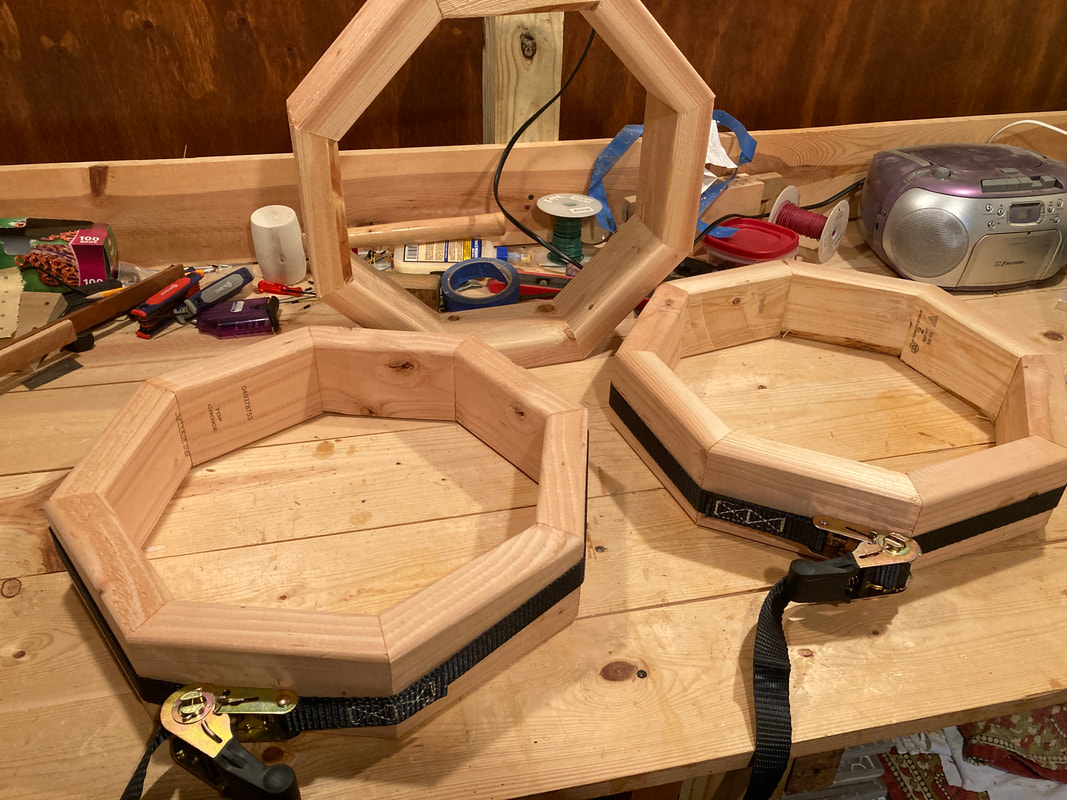 I will make another octagon out of cedar fence picket, 8” long, but only 2 levels to get 11”. The ends will be beveled at 22.5 degrees. For the attachment point on the inside of the box, I will use a 2”x 2” cedar that I have and use my belt sander to get close to the 62.5 degree angle, then glue them together….For the bottom….? Inside or outside the octagon?? (already had 2”x2”, sides & bottom ~$12) C) Rectangular standing height box (approx 17”x34” - 29” tall) I glued 2 sets of 3-1”x4”x5’ cedar fence pickets together to make legs. I ripped them to clean up the edges and got them to 3” wide, then cut 4- 29” lengths. I notched (11") one inside edge and one outside edge next to it to make ledges to help support the sides of the box (using a band saw and sawzall) I cut 4-34” and 4-17” pieces from 1”x6”x6’ cedar fence pickets for the sides of the box and 7-14.5” for the bottom of the box. I ripped some ¾” strips for rails (2-34” & 2-12”) to glue at the bottom of the sides to hold the bottom of the box.. I glued the short ends of the box to the legs, then, when those dried I glued the long sides to the box. The short ends are on the outside of the legs, the long end on the inside. Next I glued the ¾” strips all around the bottom edge of the sides. Finally I coated the box with Half & Half. (~$35) 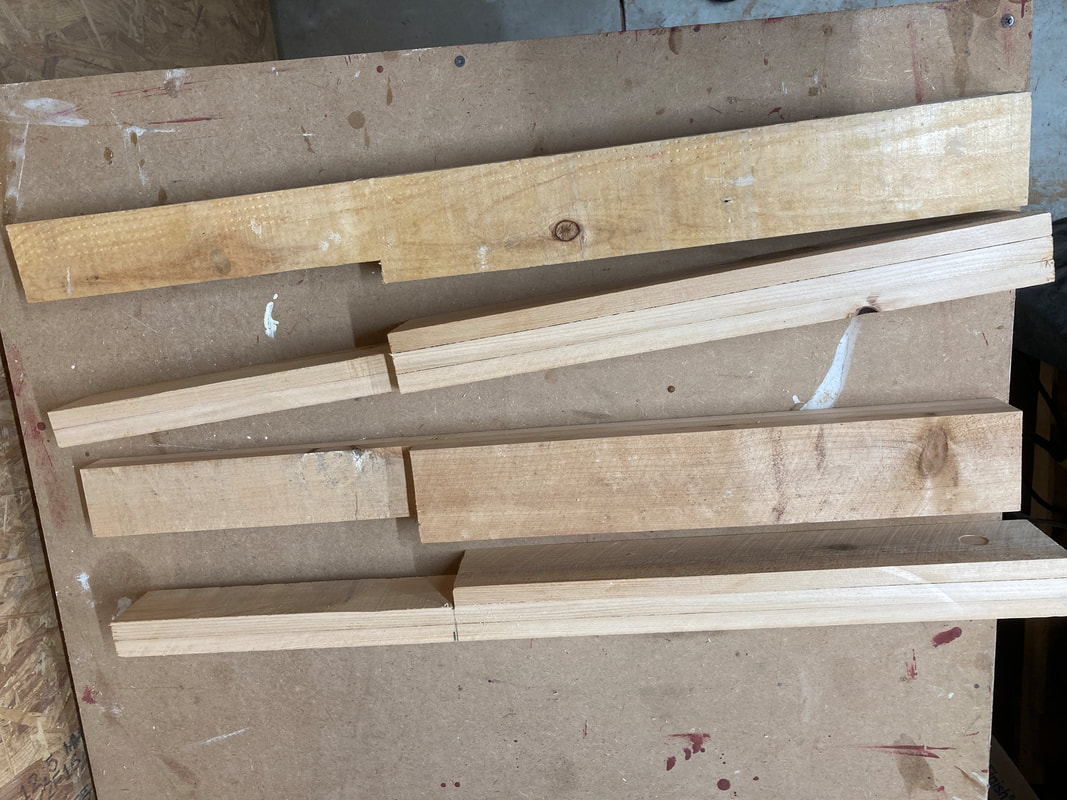 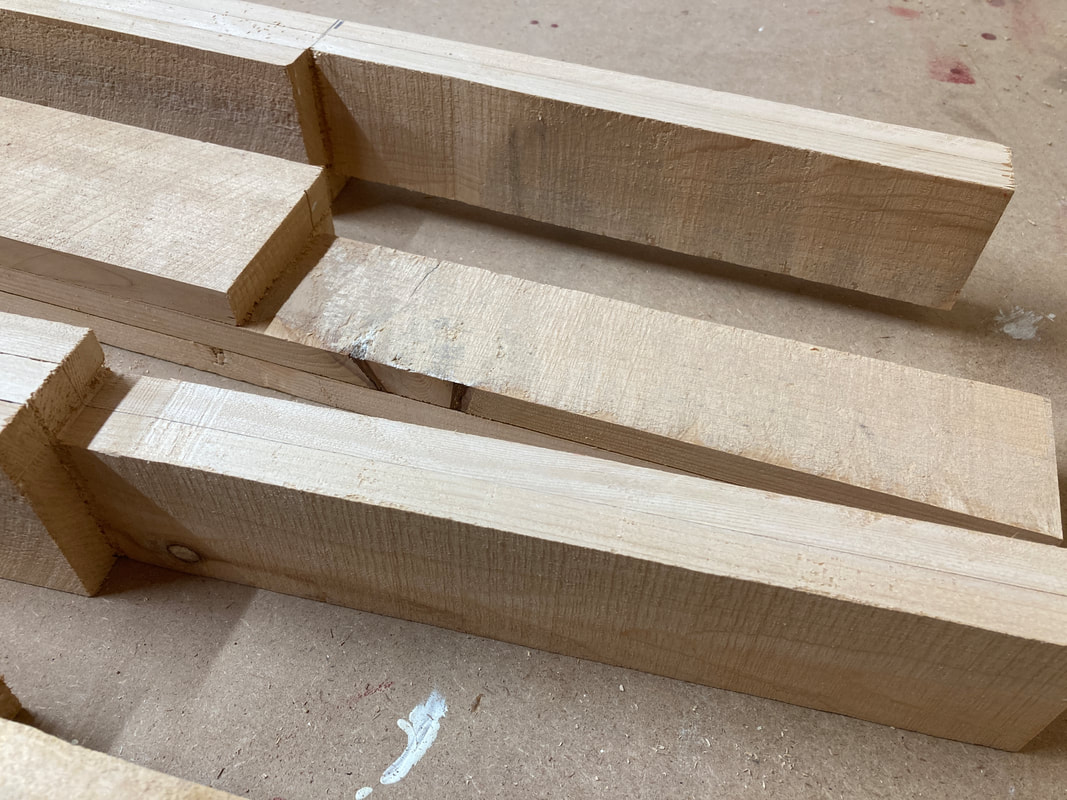  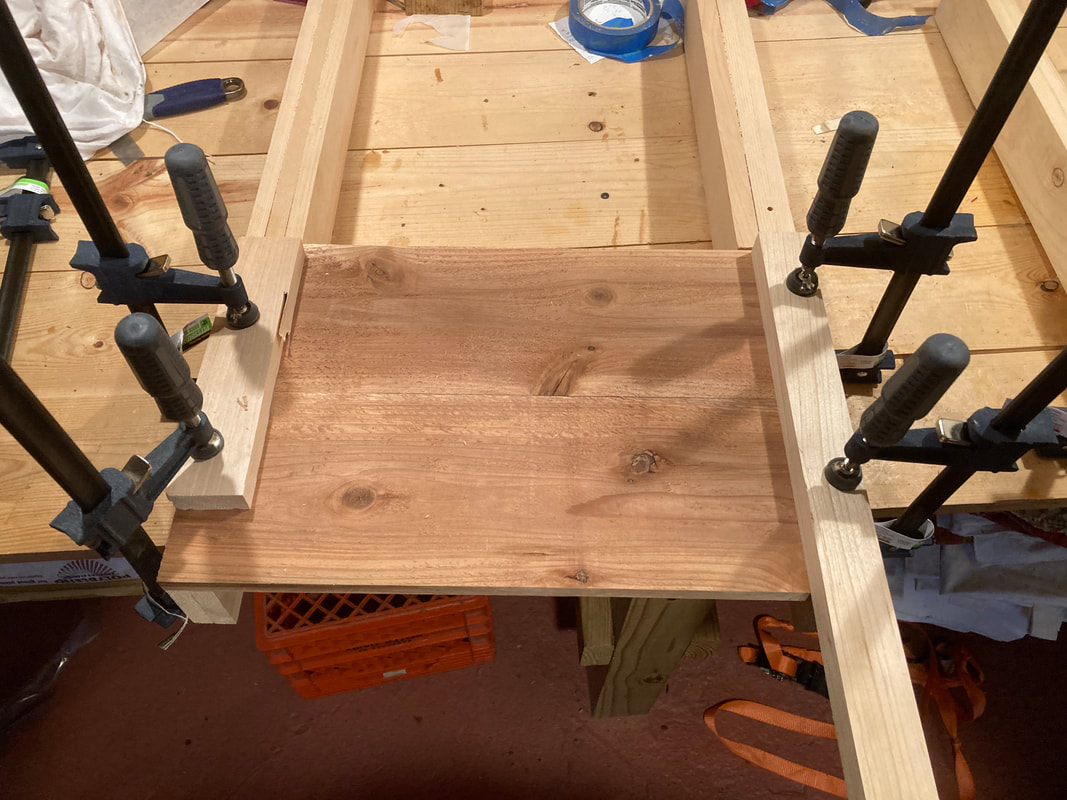 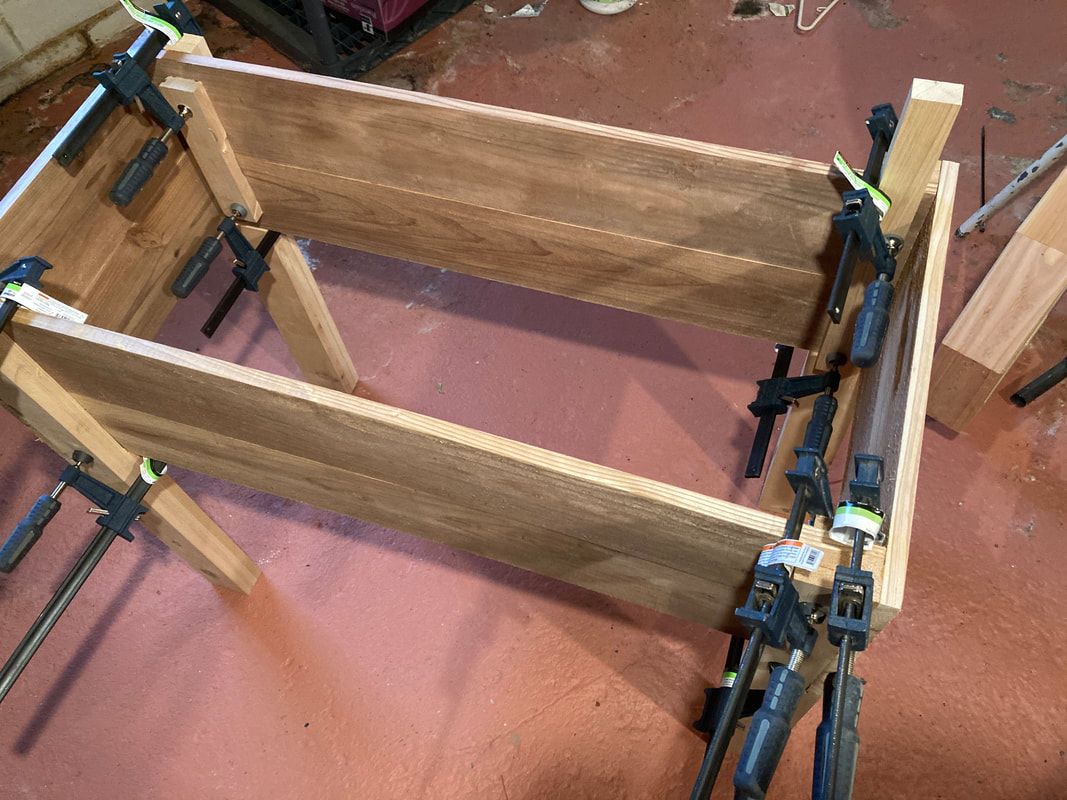 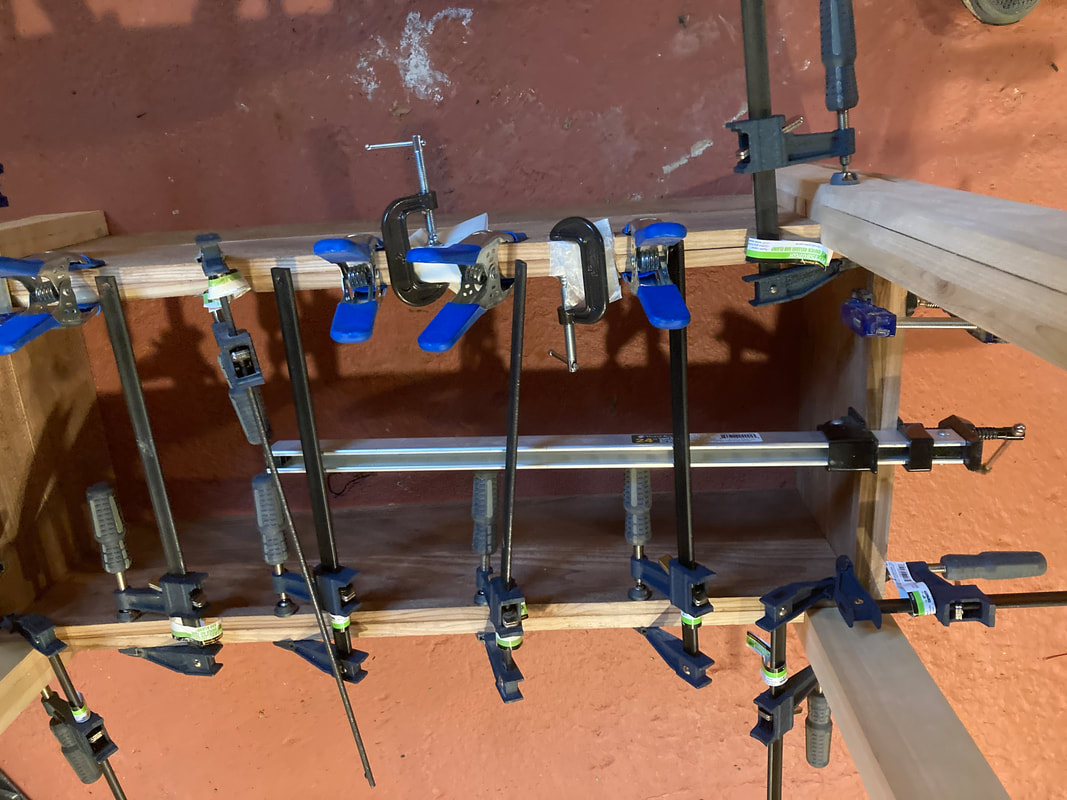 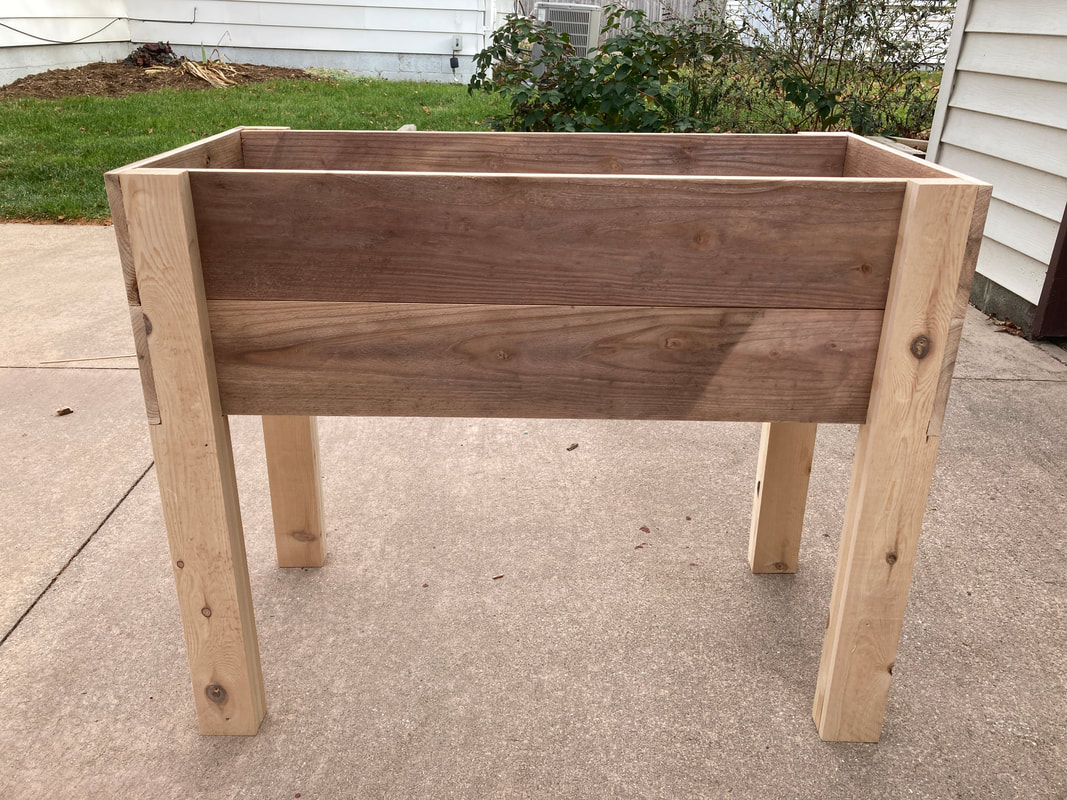  More work to be done in the Spring to finish up the boxes.
0 Comments
I made some candles as Holiday gifts for may neighbors.
Here is a slideshow with links to materials and a video talking about making them. 4 ounce candles end up costing about $4 each to make using soy wax and essential oils. I think it would be a good school project, or club project (once you can figure out how to handle the cost). There is much science and math involved, as well as social studies/history talking about the various essential oils and what parts of the world they come from or what role they play in various cultures.
I want to setup a classroom Neopixel/RGB LED strip that kids can take turns coding the display. I want it to be simple and have as few parts as possible. I am looking at the strip of lights, the microbit and a wall wart/power adapter. I don't want to use batteries that need to be changed/recharged or an extension board (just another part and more cost).
(i made a video talking about my first attempt www.youtube.com/watch?v=vtzM_9SVuiM ) I ordered two different 3V adapters (micro:bit can only take a 3V input) both about $7. ( www.amazon.com/dp/B07663HSRN & www.amazon.com/dp/B00R5BT2O2 ) Though one is 250 mA and the other is 1 A and I think that will matter. Because they are both barrel jack plugs, I had to also get a barrel jack to USB micro adapter (4 for $7 https://www.amazon.com/dp/B07B4WJ485 ) I have a variety of Neopixel/RGB LED strips, so I am playing with two. One is from Adafruit that has alligator clips on the ends (30 Neopixels / $15 www.adafruit.com/product/3812 ). The other is a string that look more like a Christmas strand (50 LEDs/$16 www.amazon.com/gp/product/B01AG923GI/ ). You can find all sorts of strips at any electronics seller...(1 meter/60 LED's $11 www.amazon.com/gp/product/B01CDTED80/ ). For many LED strips you will need jumper wires to connect to the microbit (or extension board). Those could be pin to socket or pin to alligator clip depending on the board. (https://www.amazon.com/dp/B077X7MKHN/ or https://www.amazon.com/gp/product/B01CDTED80/ ) To add up the cost Neopixel/LED $15 microbit $17 power $7 plug adapter $1.75 total $41 It "works", but I think the 250 mA doesnt supply enough power because all the colors dont work and it is not as bright as when plugged into the computer USB. We will see what the 1 A plug does. other troubleshooting ideas : 1) get 5 V directly to the LED's 2) use a 5V extension board for the microbit, like the KittenBit IOBit www.kittenbot.cc/collections/frontpage/products/kittenbot-iobit-v2-0-for-microbit ...which adds $7 cost It also means get a 5V wall wart or use the ever present phone chargers plugs. We will see. video talking about the first go |
Archives
December 2022
Categories |
 RSS Feed