|
I think a craft cutter is one tool that every school and makerspace should have a couple of. They are a relatively inexpensive foray into digital design where measurements matter. You can cut paper, cardstock, food box cardboard and vinyl (stickers, window clings, iron ons).
I have a Cricut which came with their Design Space Software. If you have a Cameo, I assume you use Silhouette Studio, which has a basic free version, then paid upgrade versions. The steps should be similar...maybe the tools have different names. Silhouette Garden https://silhouettegarden.com/ and Flaticon https://www.flaticon.com/ are great sites to get free and copyright free icons to use for projects. Usually they just want attribution. Silhouette Garden gives you a zip file with svg, png, jpg, eps, and dxf formats ; Flaticon has png & svg formats. 1) Upload a pumpkin svg (or whatever shapes) to your software 2) Import it/them into your project 3) Find these tools Weld, Slice , Group. Ring to Hang: 1) Make 2 circles, one smaller, put them on top of each other 2) Select both and click Slice 3) Grab the outer ring and move it onto the pumpkin 4) Select the ring and the pumpkin and click Weld 5) Delete the two smaller circles Face Carving 1) Pick a shape for an eye, size it and put it into place 2) Select the eye and the pumpkin then click Slice 3) The pumpkin now has a hole in it and there are two "slices" the shape of the eye that you can delete. Slice only works with TWO objects, so you have to do each feature one at a time. Repeat those steps with the other features you want to cut out Add Ons If you want to add on to your pumpkin -- arms, wings, hats ... Bring in another SVG Attach it to the pumpkin Select both click Weld Weld works with multiple items, so you can weld them all at once
0 Comments
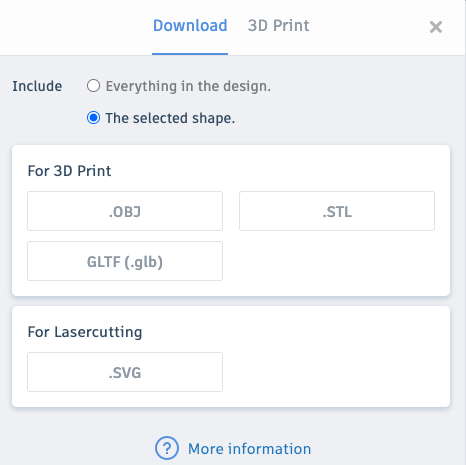
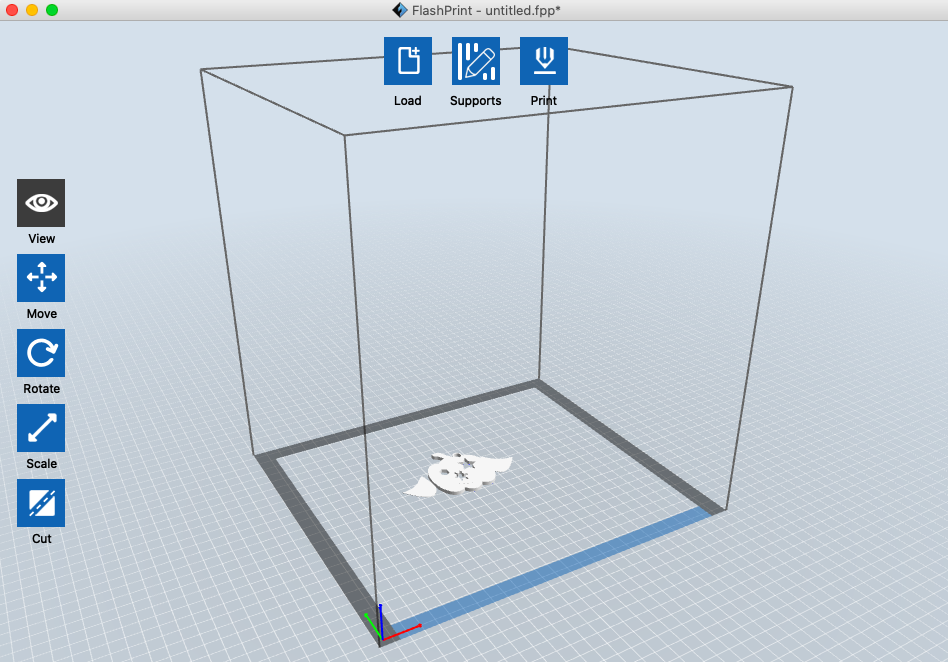
If you have a laser cutter, you are a lucky person. There is so much that you can do quickly. Besides 2D objects, you can build 3D objects from slices (think MRI). But let’s stay simple and do some pumpkin carving. The work flow differs a little based on what software you use to cut on the laser. I have Lightburn { https://lightburnsoftware.com/ $80, works with most lasers}, which is a great layout, editing, and control software. But yours might be similar. Find an svg of a pumpkin. Silhouette Garden https://silhouettegarden.com/ and Flaticon https://www.flaticon.com/ are great sites to get free and copyright free icons to use for projects. Usually they just want attribution. Silhouette Garden gives you a zip file with svg, png, jpg, eps, and dxf formats ; Flaticon has png & svg formats. Import the svg into the software 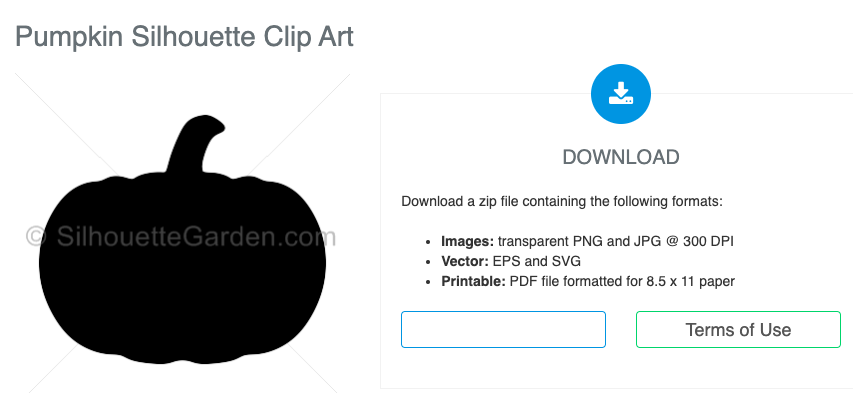 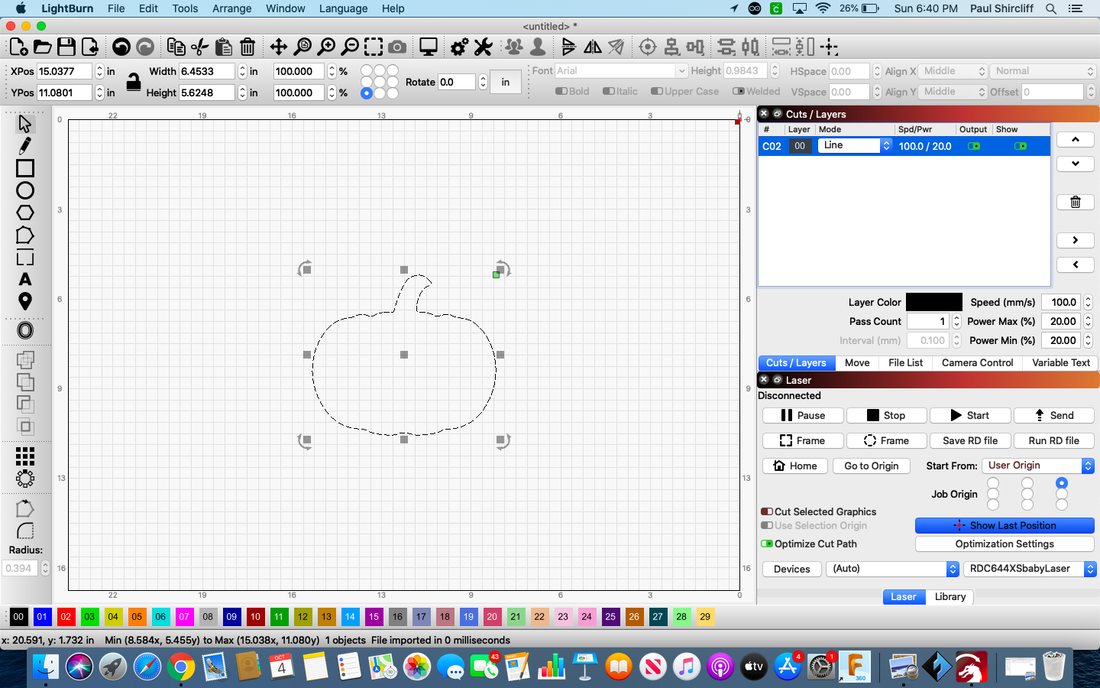 Now use some shapes or the line tool to do some “carving” 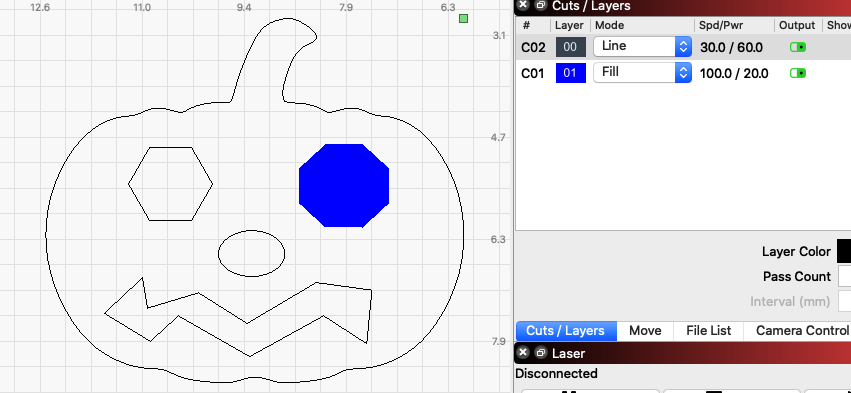 I have done a couple of things, I changed the cutting specs on black lines to make a cut (check the settings for your laser and material). I have made one eye be a different color AND set it to be “Fill” instead of “Line”. Then I set that color to engraving speed/power specifications. Select All, then Group the objects as one. Now check your dimensions. Is it the size you want? {size reference - a male adult palm is about 10 cm / 4” across} 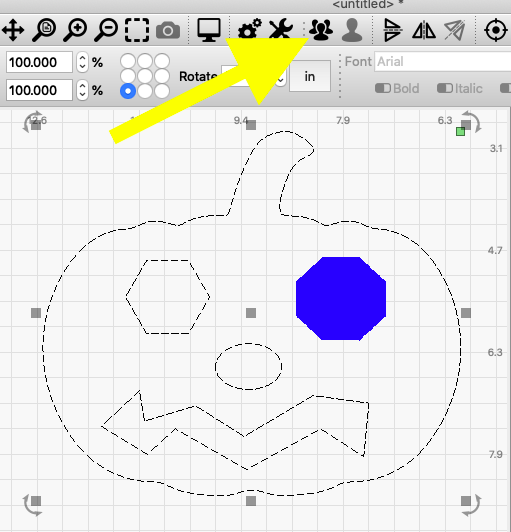 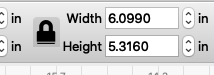 Grab corners if you want it to stay in that proportion. Grab sides/top/bottom if you just want to change one dimension. Pay attention to the lock. If it is locked, you can type one dimension and the other will change proportionally...helpful if you want one dimension to be a certain number There is one more thing to do. Do you want to be able to hang this? If so we need to add a loop. Make two circles. Type in measurements to make them a certain size (what will work for you?) When I drag the smaller one into the bigger one, it jumps to a centering position. If they don't automatically center, You will need to use your alignment tools. 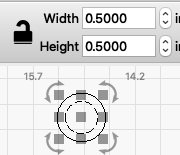 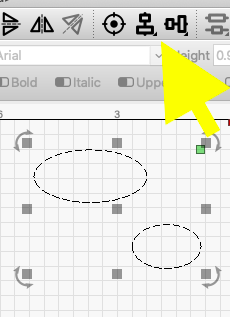 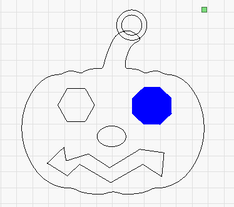 Select them both and Group them. Move them to be a part of your pumpkin 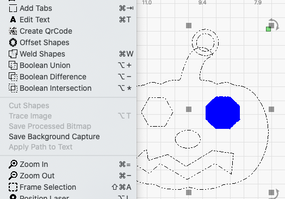 Select both the loop and the pumpkin. Then choose the “Weld Shapes” tool. {Another option is one of the Boolean tools) 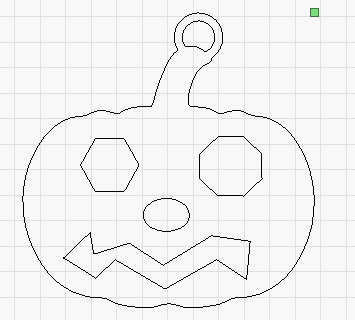 Now there is an oops…. We just lost the blue eye. That “Weld” mashed everything together. So I guess we will have to undo some steps, “Undo” is your friend (command-z or control-z). Undo enough to get the loop off the pumpkin, then select and “ungroup” the pumpkin face. 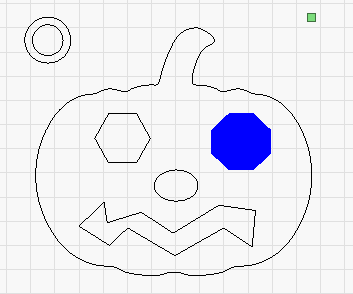 Move the loop back to the pumpkin. Select the pumpkin (only) and the loop Weld them. 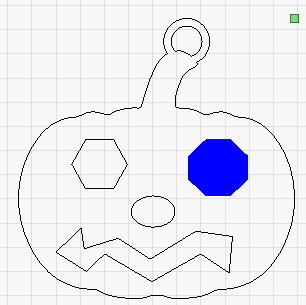 Now select all and Group them. Double check the dimensions. Send to your laser. if you wanted to add anything EXTRA to your pumpkin, say wings... import an svg (or draw something) stick it slightly "inside" the pumpkin) Select the things you want to connect Then use "Weld" from Tools but REMEMBER the problem when I welded and there was a different color in the group This Weld needs to be done before you group that different color object IF you have a different color object...I had one just to show "engraving" (wings by Freepik https://www.flaticon.com/free-icon/wings_488527?term=wings&page=1&position=6 ) 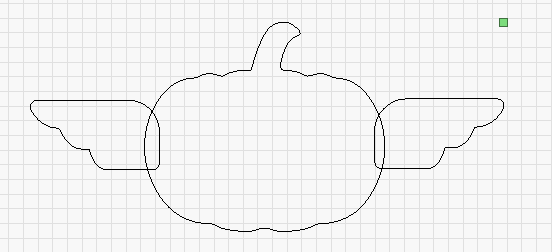 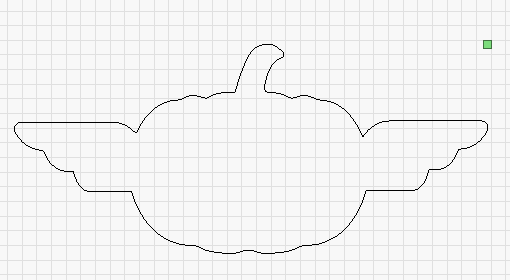 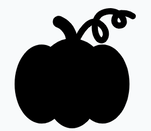 Silhouette Garden https://silhouettegarden.com/ and Flaticon https://www.flaticon.com/ are great sites to get free and copyright free icons to use for projects. Usually they just want attribution. Silhouette Garden gives you a zip file with svg, png, jpg, eps, and dxf formats ; Flaticon has png & svg formats. I am going to use TinkerCad https://www.tinkercad.com/ ( free, browser based 3D design.). Tinkercad lets you import svg images. Find a pumpkin svg that you like. Think solid black (or at least solid, one color), like this. If it is not solid, it wont be a solid in tinkercad. No matter what, It will probably come in REALLY large. That is okay. Select it, grab a corner and make it smaller. Do you want it tall and skinny or short & fat? Pumpkin by Freepik https://www.flaticon.com/free-icon/pumpkin_91449?term=pumpkin&page=1&position=48 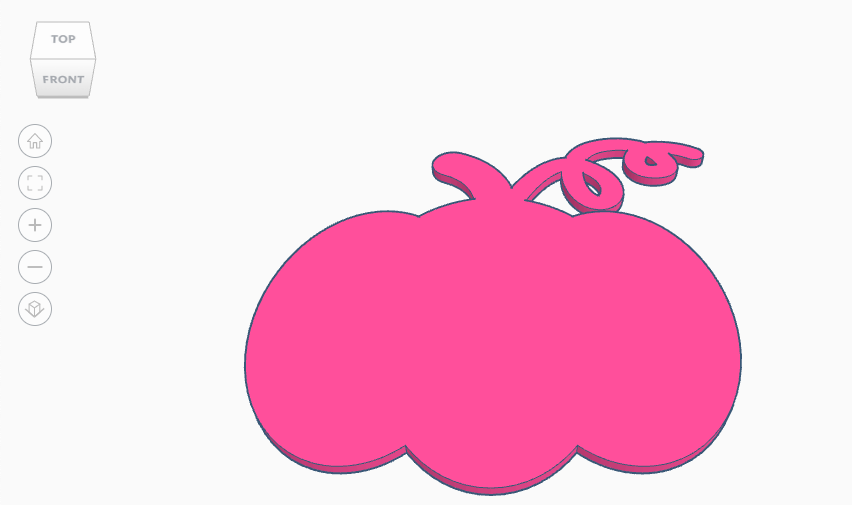 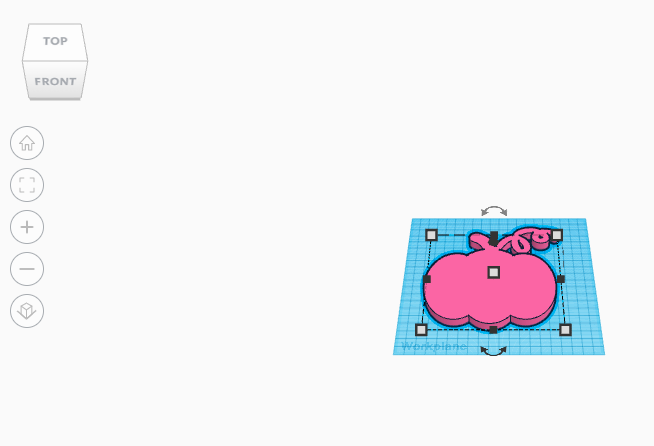 Now for the carving. Grab some shapes. You can start with Basic, but go ahead and try some others. 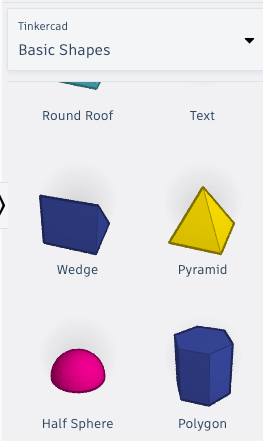 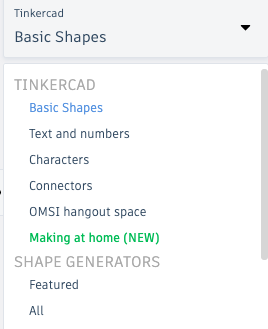 If you want to “carve” with them, you have to turn them into “Holes”. Be sure that the holes are taller than the pumpkin. You can always leave shapes as solid and add to your pumpkin. I added “wings” (or something like wings). Sometimes I take my holes and lower them just a touch below the workplane to make sure they go all the way through a shape. That would be the black cone that hovers over the shape. 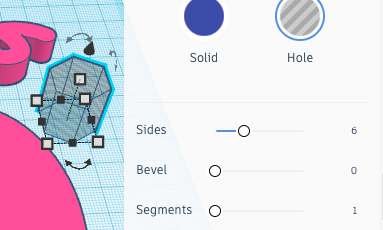 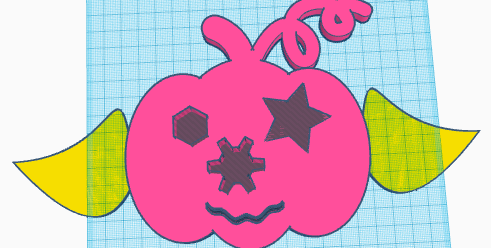 Select all and click “Group”. I have not worried about dimensions yet. I like working with the larger shapes. 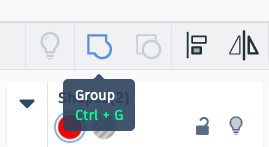  Now think about dimensions. Use your palm as a reference. Adult, male palms are about 10 cm, 4 inches across. Also think about thickness, as this plays an important role in how long it takes to print. I would stay under 5 mm/0.20 in ( 2 mm / 0.1” could be fine). {One tinkercad trick about measurements. If you drop the ruler anywhere on the work plane, the measurements are easier to work with. They are almost always there, AND you can click in them and type numbers.} One more consideration besides dimensions. Do you want a hole to hang the pumpkin? Then add a “tube” from “Basic Shapes”. Be sure to stick it into the pumpkin a little bit, select them both, then click Group. (I also got rid of the vine coming off the top by combining it with various “hole” shapes until it was gone) 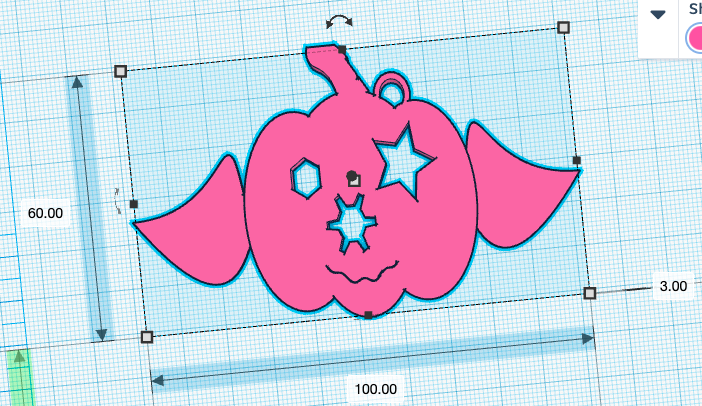 Export the stl. Import/Load it into your 3D printing software (slicer). “Print” to your printer or download the gcode and take to your printer Sorry, I don’t have a 3D printer to show you how this will turn out.
You can color filament with permanent markers. Some people color it before printing. Some after. To color before printing, you need to watch your slicer export numbers, it should tell you how much filament, usually in both grams and centimeters. Unload the filament. Unroll that amount of filament (plus a little bit more), color it, then put it back into the printer. Now, go carve some pumpkins. Then pick some other holiday themed icons to print out |
Archives
December 2022
Categories |
 RSS Feed