|
It has been a while since I have done any coding and I want to get back to it. I have Arduino’s and Raspberry Pis and Circuit Playground Express (CPX) and micro:bit… but just don’t make the time to fiddle with them. I did a 5 minute coding of the CPX this past summer, but before that, it has been a while. There are just so many mediums and avenues for #MakerEd, it is difficult to play with them all.
A Twitter friend, Rob Morrill , has been sharing what he and his students do with programming, so he has me thinking and planning. I finally started up again. And it can be a rabbit hole. You start thinking “what else can I make it do” , “how do I make it do that”...there are just so many possibilities. So I pulled out my Circuit Playground Express , ordered a neopixel strip (though I already have some, Rob was playing with this strip that already has alligator clips attached, so no soldering needed). I needed some help to get started, so I went to the https://makecode.adafruit.com/projects/ (there is also a https://makecode.microbit.org/ ) and found a neopixel project to help me https://makecode.adafruit.com/projects/wearable-neopixels/code . Now it was time to start, so on to https://makecode.adafruit.com/#editor Things I had to learn to do : initialize the strip, google some RGB color codes (silver and gold), create and call functions (subroutines). Remember to add “pause” blocks in your code, otherwise you won’t see anything happen. I was able to power this setup with a 3.7V lithium polymer (LiPo) battery. Here is a link to my code : https://makecode.com/_FvT7C1dLuHoY Rob has a makecode course for the CPX (https://makecode.com/blog/adafruit-circuit-playground-express/maker-course ) Adafruit has an interface for the CPX (and one for the microbit) that makes it easier to hook up motors and servos and… It is called Crickit (Creative Robotics & Interactive Construction Kit) Yes I did buy one of these recently and will be playing with it soon. It allows you to connect to the microcontroller without soldering or alligator clips, it uses screw poles. The Crickit needs to be powered by almost 5 V, so I bought 4 AA NiMH rechargeable batteries and a charger. You could also use 3 regular batteries. 4 vs 3 is because of the slight voltage difference in NiMH & regular batteries (https://learn.adafruit.com/adafruit-crickit-creative-robotic-interactive-construction-kit/powering-crickit )
screencast of what i did :
live view :
0 Comments
It’s not like I spend all day watching Hallmark movies…
I have been working on things. Twitter conversations, researching big ideas, visiting a few places. Naps. I need to get after reading more of my books and more detail on my Mobile #MakerSpace research. And more woodworking. 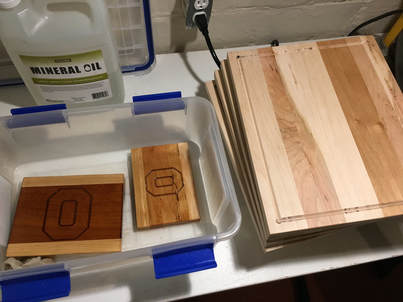
I do have several cutting boards in process. I decided to buy a small router table for several reasons, one was so that I could route the juice track in a “larger” board. My CNC router machine only does 12” x 13” , which is an okay size. I wanted to try a bit bigger, so I made some 12” x 15” for Christmas presents.
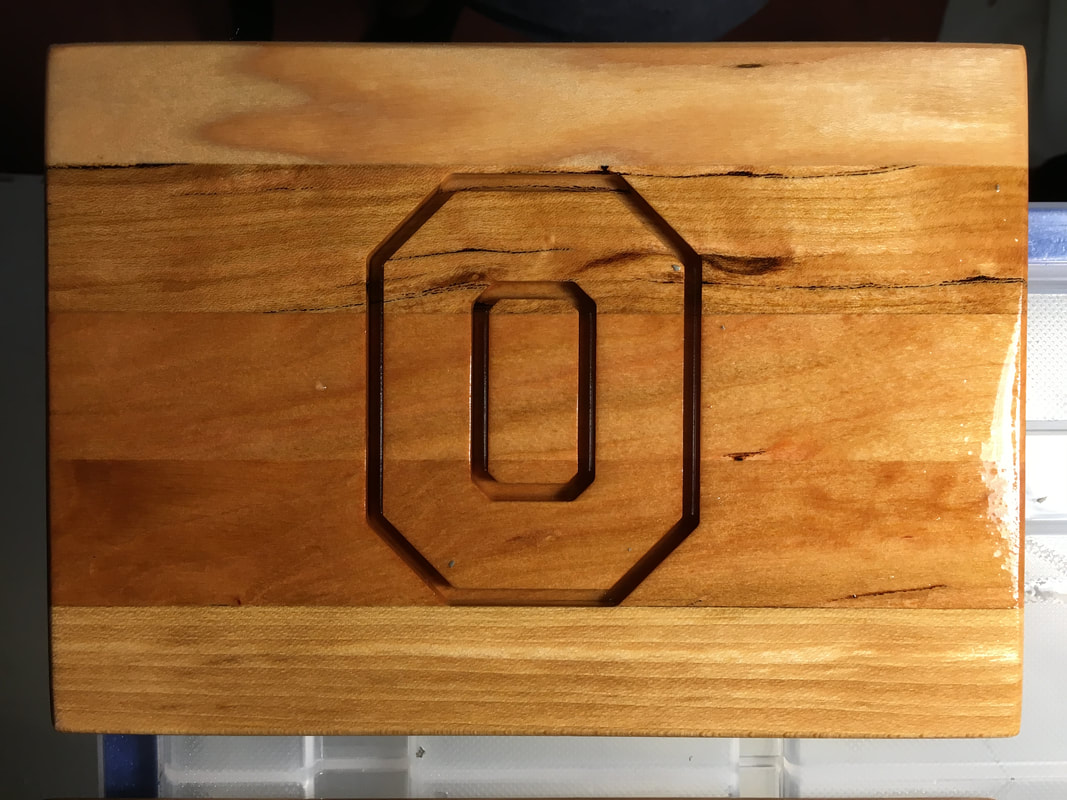
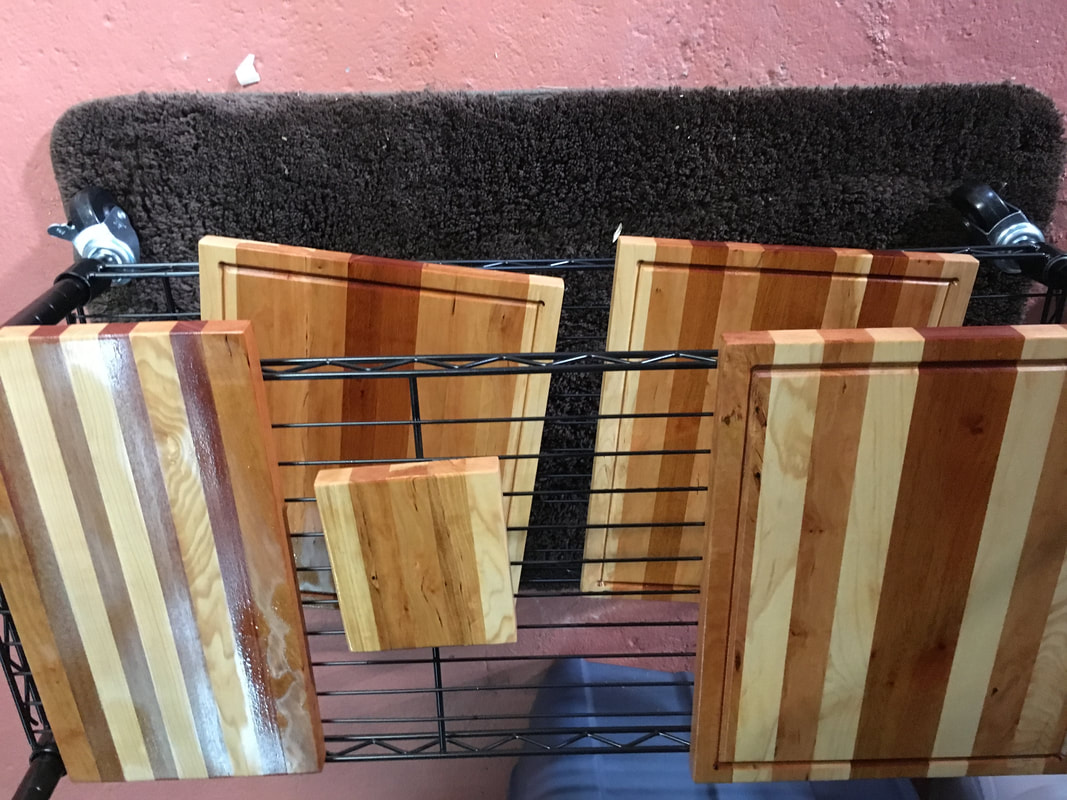
The hardest part is setting up stops for the beginning and end of the track : measuring carefully with the combination square and affixing pieces of wood as stops. You need to check after running it across the router that you got a nice even track. The router bit wants to push up on the board, so you have to keep a good down pressure, and a pretty smooth/even push to the left. The tracks came out okay. I could have been better at lining up the second set of tracks so they met perfectly in the end of the first tracks. But this might be because each board is not exactly the same size. A quarter inch is size also makes the tracks a quarter inch different. Also there was a little burning of the wood in the ends, but that is just additional character. My sister-in-law wanted a small “block O” board for her boss. That was just a matter of getting an image into the CNC software and converting a couple of the block O lines into vectors. I am still a little wary of my CNC because of the depth problem it was having this summer (sometimes forgetting where z=0 was). But they came out good, even though one did not end up perfectly centered.
Here is a video talking about using the router table to cut juice track :
Sometimes I use the edge grain as the top/bottom of the board, sometimes I use face grain. Gum cherry has a really nice face that I want to show off.
|
Archives
December 2022
Categories |

 RSS Feed