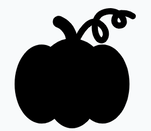
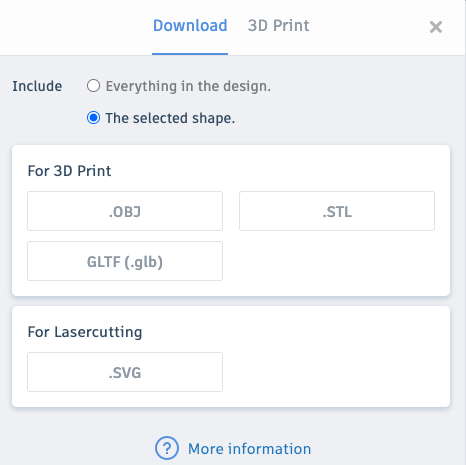
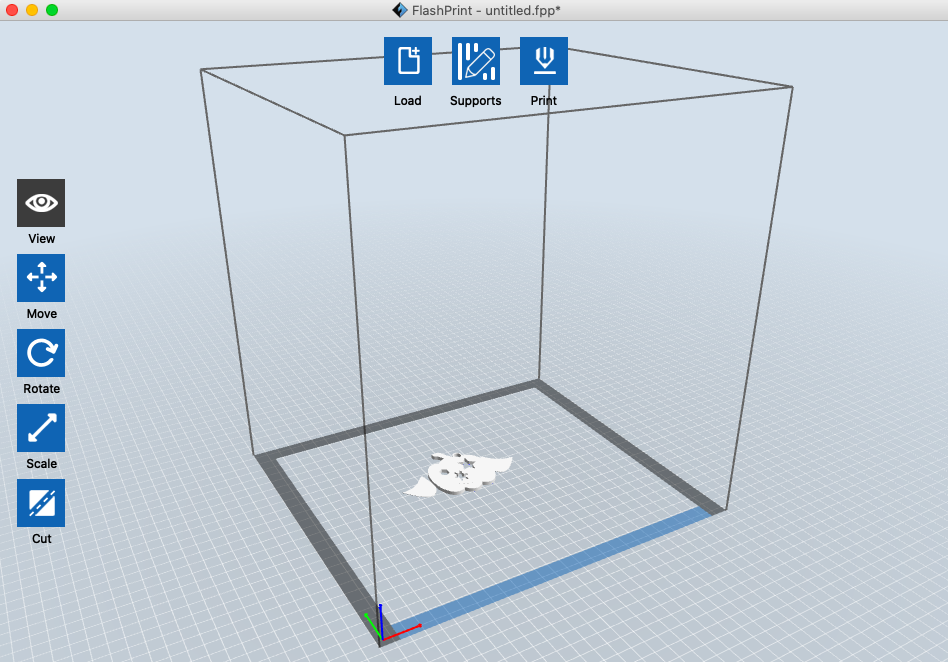
 Silhouette Garden https://silhouettegarden.com/ and Flaticon https://www.flaticon.com/ are great sites to get free and copyright free icons to use for projects. Usually they just want attribution. Silhouette Garden gives you a zip file with svg, png, jpg, eps, and dxf formats ; Flaticon has png & svg formats. I am going to use TinkerCad https://www.tinkercad.com/ ( free, browser based 3D design.). Tinkercad lets you import svg images. Find a pumpkin svg that you like. Think solid black (or at least solid, one color), like this. If it is not solid, it wont be a solid in tinkercad. No matter what, It will probably come in REALLY large. That is okay. Select it, grab a corner and make it smaller. Do you want it tall and skinny or short & fat? Pumpkin by Freepik https://www.flaticon.com/free-icon/pumpkin_91449?term=pumpkin&page=1&position=48 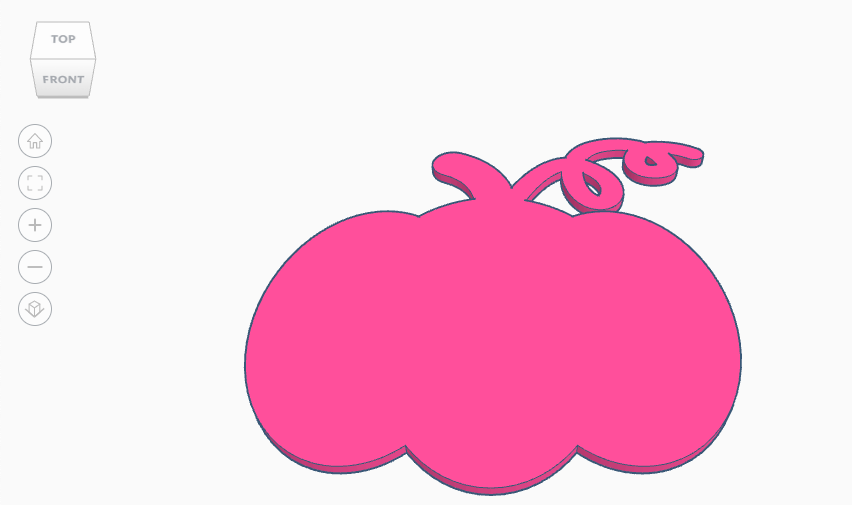 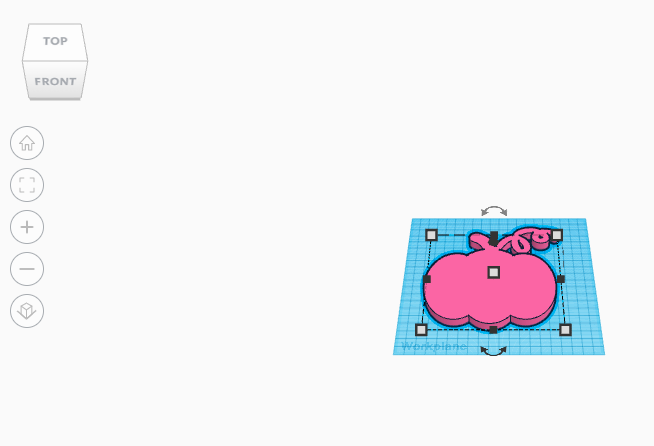 Now for the carving. Grab some shapes. You can start with Basic, but go ahead and try some others. 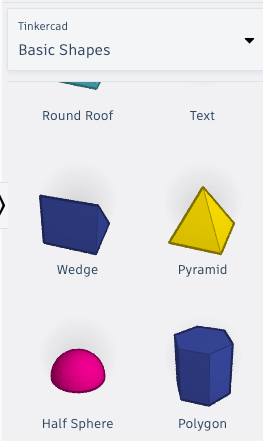 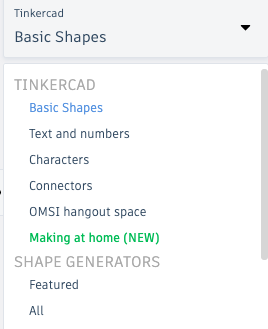 If you want to “carve” with them, you have to turn them into “Holes”. Be sure that the holes are taller than the pumpkin. You can always leave shapes as solid and add to your pumpkin. I added “wings” (or something like wings). Sometimes I take my holes and lower them just a touch below the workplane to make sure they go all the way through a shape. That would be the black cone that hovers over the shape. 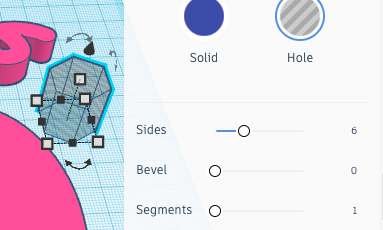 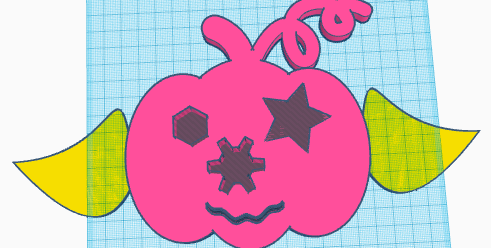 Select all and click “Group”. I have not worried about dimensions yet. I like working with the larger shapes. 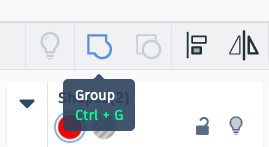  Now think about dimensions. Use your palm as a reference. Adult, male palms are about 10 cm, 4 inches across. Also think about thickness, as this plays an important role in how long it takes to print. I would stay under 5 mm/0.20 in ( 2 mm / 0.1” could be fine). {One tinkercad trick about measurements. If you drop the ruler anywhere on the work plane, the measurements are easier to work with. They are almost always there, AND you can click in them and type numbers.} One more consideration besides dimensions. Do you want a hole to hang the pumpkin? Then add a “tube” from “Basic Shapes”. Be sure to stick it into the pumpkin a little bit, select them both, then click Group. (I also got rid of the vine coming off the top by combining it with various “hole” shapes until it was gone) 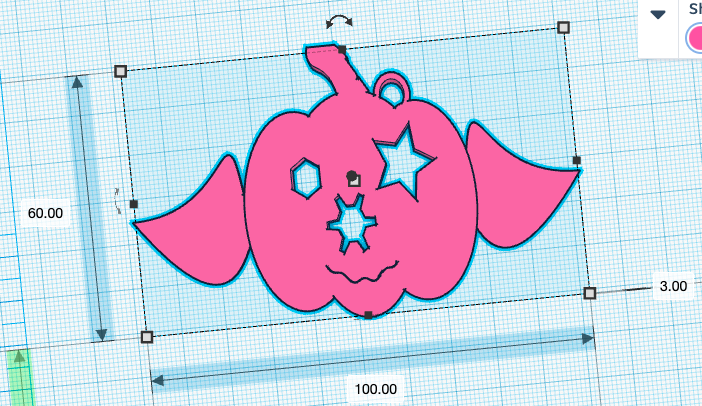 Export the stl. Import/Load it into your 3D printing software (slicer). “Print” to your printer or download the gcode and take to your printer Sorry, I don’t have a 3D printer to show you how this will turn out.
You can color filament with permanent markers. Some people color it before printing. Some after. To color before printing, you need to watch your slicer export numbers, it should tell you how much filament, usually in both grams and centimeters. Unload the filament. Unroll that amount of filament (plus a little bit more), color it, then put it back into the printer. Now, go carve some pumpkins. Then pick some other holiday themed icons to print out
0 Comments
Your comment will be posted after it is approved.
Leave a Reply. |
Archives
December 2022
Categories |
 RSS Feed