|
If you have a laser cutter, you are a lucky person. There is so much that you can do quickly. Besides 2D objects, you can build 3D objects from slices (think MRI). But let’s stay simple and do some pumpkin carving. The work flow differs a little based on what software you use to cut on the laser. I have Lightburn { https://lightburnsoftware.com/ $80, works with most lasers}, which is a great layout, editing, and control software. But yours might be similar. Find an svg of a pumpkin. Silhouette Garden https://silhouettegarden.com/ and Flaticon https://www.flaticon.com/ are great sites to get free and copyright free icons to use for projects. Usually they just want attribution. Silhouette Garden gives you a zip file with svg, png, jpg, eps, and dxf formats ; Flaticon has png & svg formats. Import the svg into the software 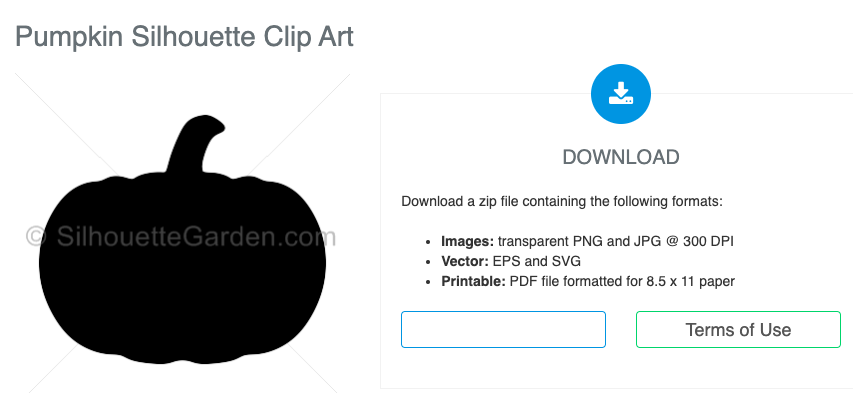 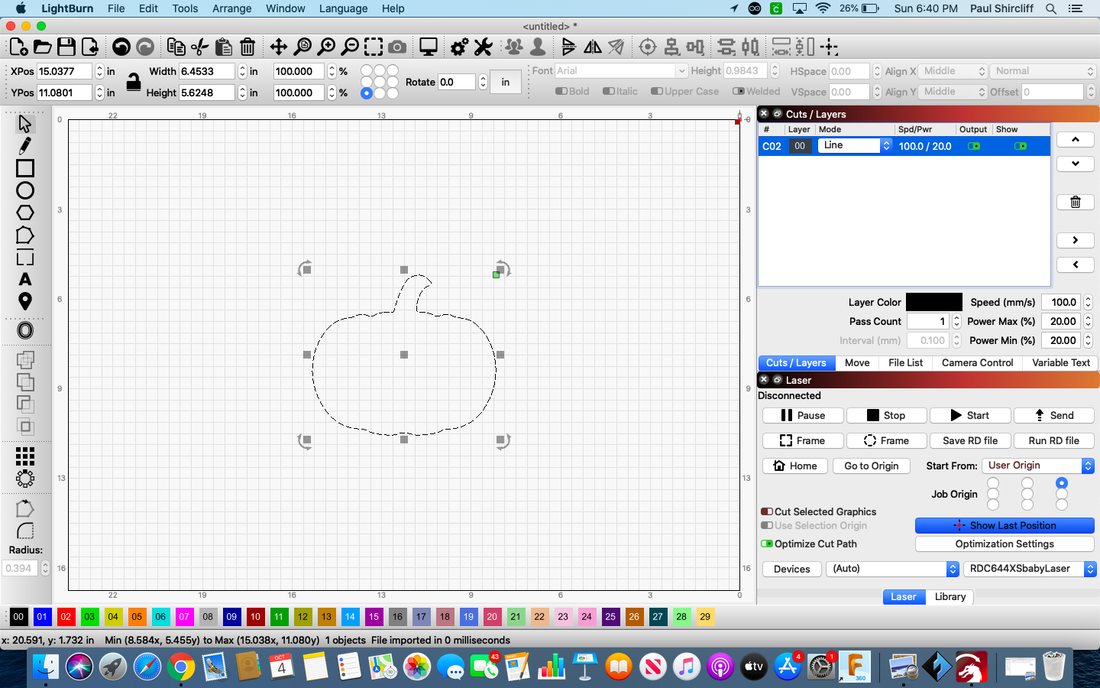 Now use some shapes or the line tool to do some “carving” 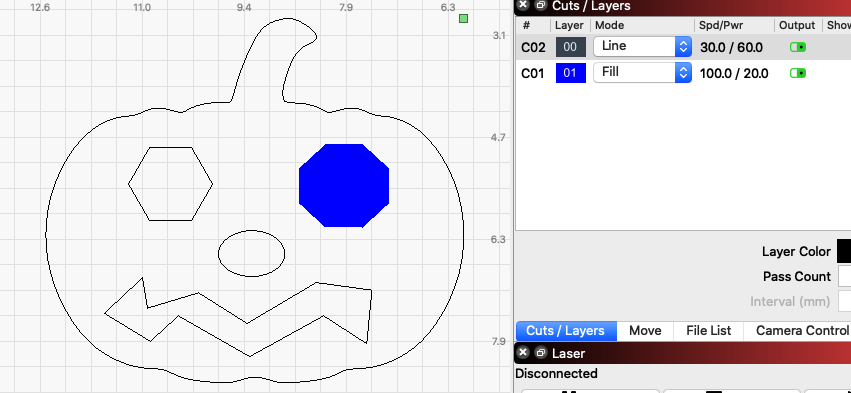 I have done a couple of things, I changed the cutting specs on black lines to make a cut (check the settings for your laser and material). I have made one eye be a different color AND set it to be “Fill” instead of “Line”. Then I set that color to engraving speed/power specifications. Select All, then Group the objects as one. Now check your dimensions. Is it the size you want? {size reference - a male adult palm is about 10 cm / 4” across} 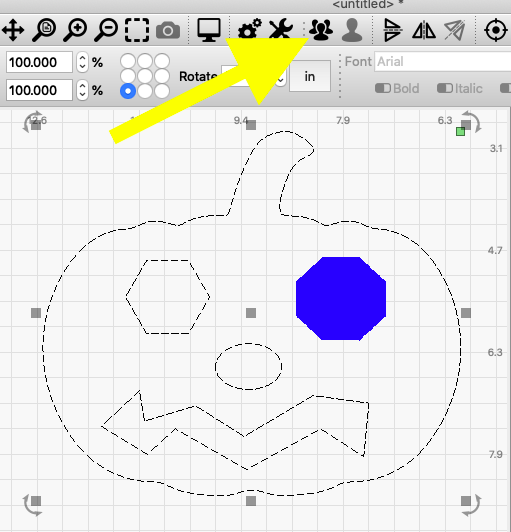 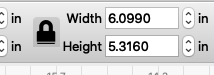 Grab corners if you want it to stay in that proportion. Grab sides/top/bottom if you just want to change one dimension. Pay attention to the lock. If it is locked, you can type one dimension and the other will change proportionally...helpful if you want one dimension to be a certain number There is one more thing to do. Do you want to be able to hang this? If so we need to add a loop. Make two circles. Type in measurements to make them a certain size (what will work for you?) When I drag the smaller one into the bigger one, it jumps to a centering position. If they don't automatically center, You will need to use your alignment tools. 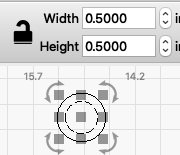 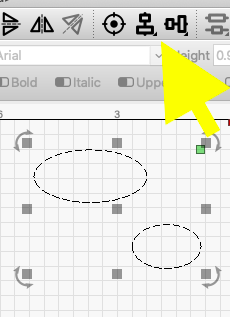 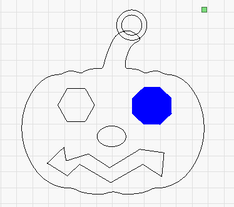 Select them both and Group them. Move them to be a part of your pumpkin 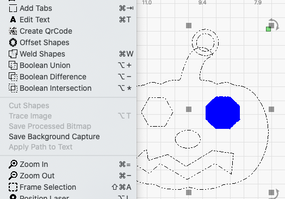 Select both the loop and the pumpkin. Then choose the “Weld Shapes” tool. {Another option is one of the Boolean tools) 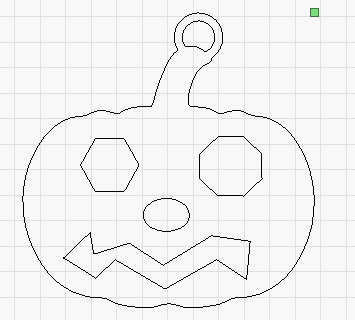 Now there is an oops…. We just lost the blue eye. That “Weld” mashed everything together. So I guess we will have to undo some steps, “Undo” is your friend (command-z or control-z). Undo enough to get the loop off the pumpkin, then select and “ungroup” the pumpkin face. 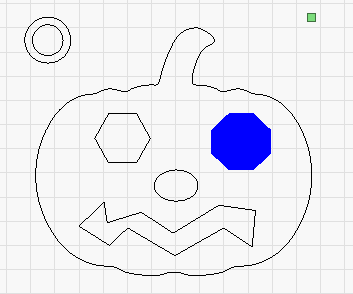 Move the loop back to the pumpkin. Select the pumpkin (only) and the loop Weld them. 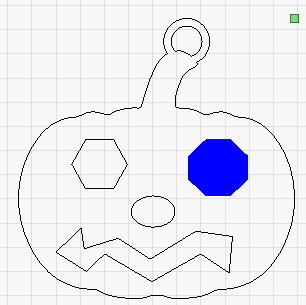 Now select all and Group them. Double check the dimensions. Send to your laser. if you wanted to add anything EXTRA to your pumpkin, say wings... import an svg (or draw something) stick it slightly "inside" the pumpkin) Select the things you want to connect Then use "Weld" from Tools but REMEMBER the problem when I welded and there was a different color in the group This Weld needs to be done before you group that different color object IF you have a different color object...I had one just to show "engraving" (wings by Freepik https://www.flaticon.com/free-icon/wings_488527?term=wings&page=1&position=6 ) 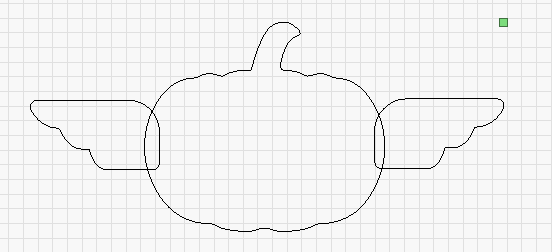 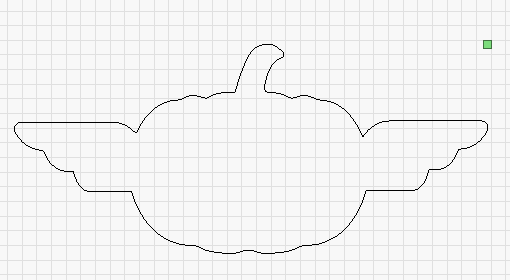
0 Comments
Your comment will be posted after it is approved.
Leave a Reply. |
Archives
December 2022
Categories |
 RSS Feed