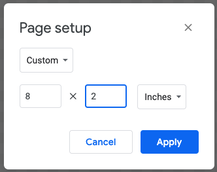
 I think it would be good for students to design and make their own tools for math learning activities. DIY allows them to give it some personality and make it their own. Creating the tool also helps them understand it better. As always, making allows for discussions and questions. I am thinking two big considerations 1) Design method/software 2) Output format (paper, cardboard, acrylic, vinyl) Let’s start with a ruler. We could print rulers on paper or cardstock via most printers, then cut it out. A Cricut/Cameo can print on and cut paper, foodbox cardboard, vinyl. 3D printing would be possible. Laser cutter could do cardboard and acrylic. My first thought is printing a ruler on paper or cardstock. Obviously we could find one online to print ( http://www.vendian.org/mncharity/dir3/paper_rulers/ ), I just think designing it and personalizing it is much better. Students can design a ruler in Google Slides or Drawing. { I have not figured out how to switch to metric without changing the language at the account level, so we are stuck with inches.} Under “File” “Page Setup” , make your slide/drawing big enough to accommodate the size ruler you want, though you are limited by your paper size. It doesn’t have to be the size of the paper OR the size of the ruler. I will be making a 1” by 6” ruler. Be sure that you are showing the ruler and guides. I think “Snap to” grids will help also. GDrawing automatically showed centering guides 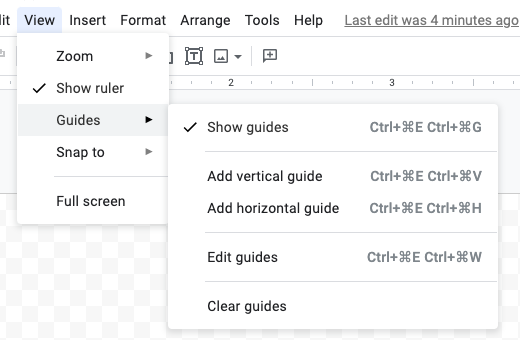 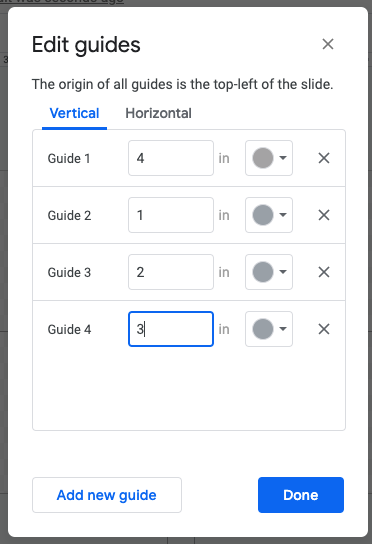 I want to “Edit guides” and place them vertically every inch to start. These are going to be for the “tick” marks on the ruler. Students need to decide on what tick marks they want...every inch? every half inch? quarter inch?....great time to talk about reading measuring devices and precision 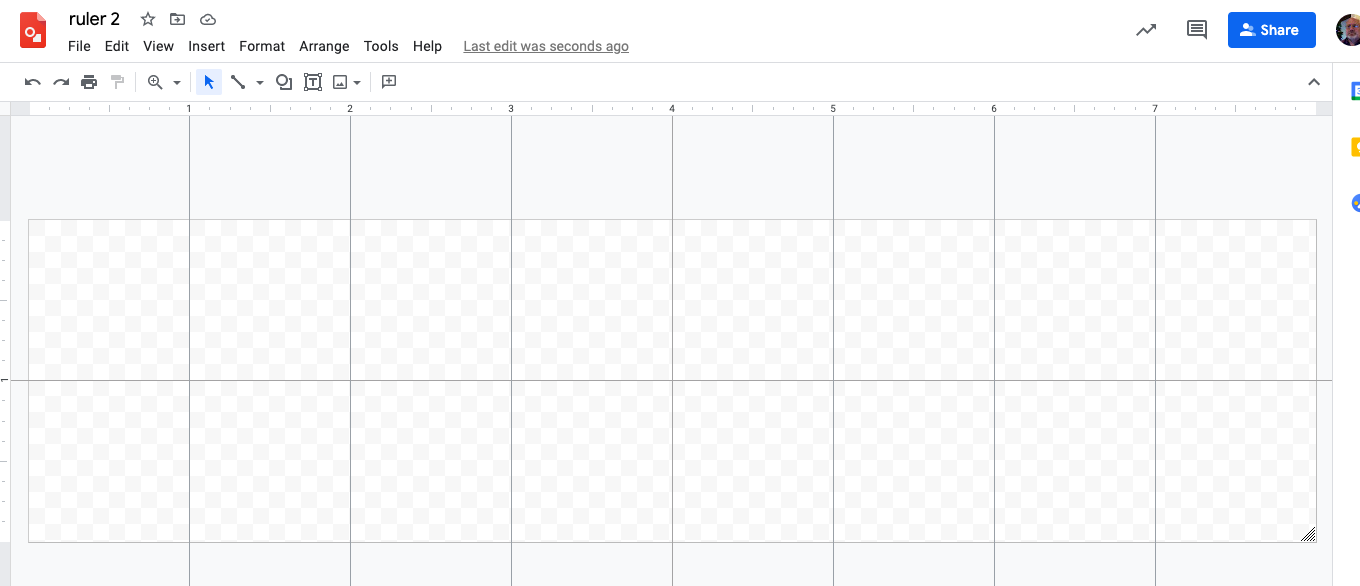 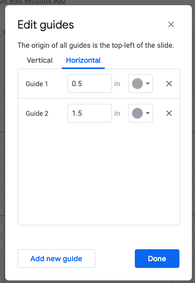 How “thick” or wide do you want your ruler? You could put horizontal guides to help you size the box that will be the ruler.  Pick a shape for the ruler. Use the guides to lay it out. My limited mind stays rectangular, though some exploration could be interesting. How can we make a ruler for curved shapes? I will make my shape transparent. 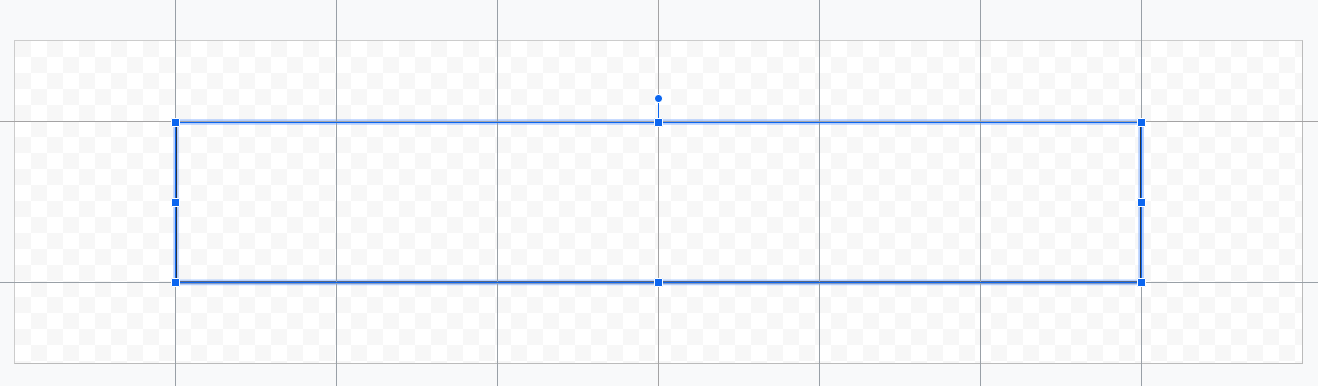 Use the vertical guides to place vertical tick marks. Sometimes getting line segments perfectly vertical is difficult (who has the trick or keystroke for that??) Be aware, once you place a short segment on a grid and on the box, it is very difficult to select it… there are 3 things in the same location. I placed one, then copy & pasted it and used the arrows keys to move it to the next guide line. I left it a 1 px size. Obviously something to experiment with. If you have a color printer , having different colors for different tick marks is another thing to look at. 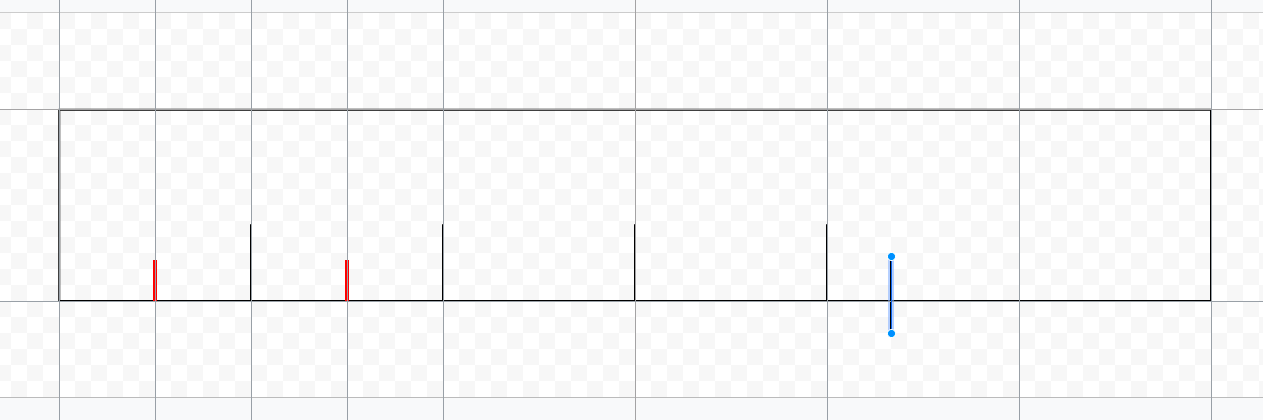 Add text boxes for numbers. Personalize it (name, images, icons - flaticon.com is a great source) I did have some trouble with icons & images printing as black boxes. I usually download and insert from computer. But when I inserted image and “searched the web” , it worked. 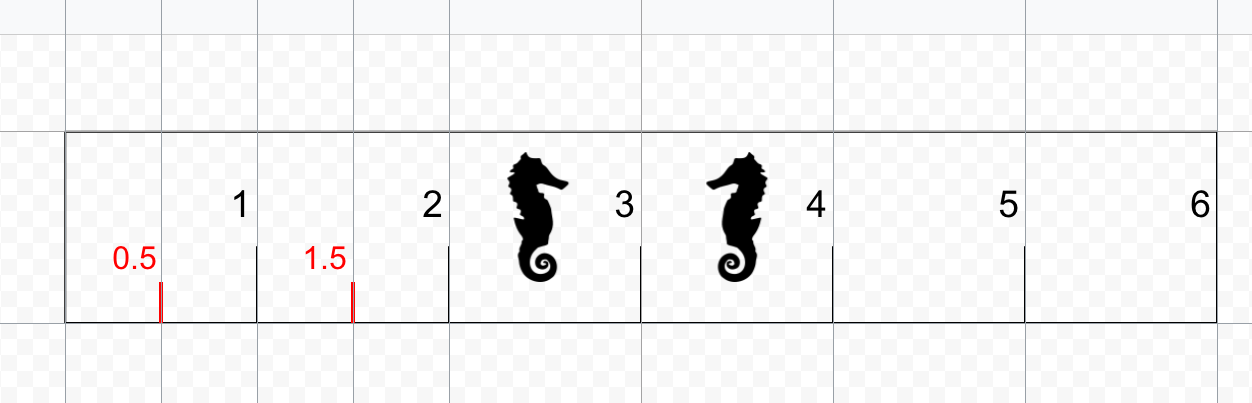 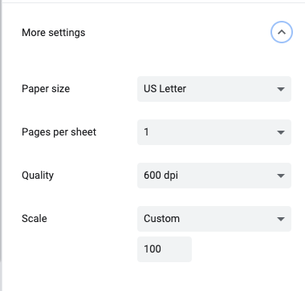 Now print. The important part is to change settings so that you print 100% scale. Cut out and use. Have a “standard” for students to check their creations against...just like we have international standards. There is a discussion you can have….the origins of measurements, how they became standardized, how those standards have changed. A meter used to be defined by two marks made on a platinum-iridium bar. Now it is based on the speed of light. {https://www.nist.gov/pml/weights-and-measures/si-units-length } It might not look like the lines line up correctly from the picture , but they do. 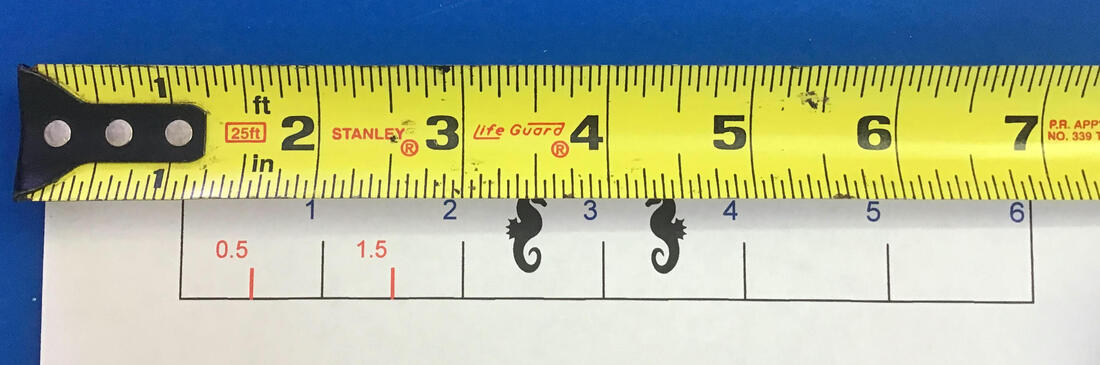
0 Comments
Your comment will be posted after it is approved.
Leave a Reply. |
Archives
December 2022
Categories |
 RSS Feed