|
Do you like robots that can also draw? I saw that Edison had a marker holder adapter for sale, so obviously I thought I should design one to 3D print. I thought to make it for the front, but there is a lip I dont want to mess with yet, so I designed one for the back. Design goes through many iterations and testing , so I will try to not bore you with all of them. I started with my Tinkercad Codeblocks that creates a plate of any size with any size holes (for robot building parts). Edison is 64 mm wide and 1 unit block of this codeblock is 8 mm x 8 mm (that can be changed also), so I made a plate that is 8x3 unit blocks. This size will give a good connection, 2x3 on each edge of Edison (the middle of Edison does not have pegs). The pegs are just over 2 mm tall, so I made the plate 2.5 mm. The pegs are 4.75 mm in diameter, but I had to make the radius of the holes 2.51 mm to fit. 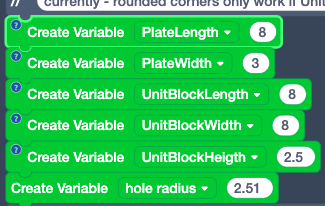  Next, I made a rectangular prism 18 mm wide x 24 mm x 5 mm thick and a cylinder with 15 mm diameter and 10 mm height. A Sharpie is 10.65 - 12.2 mm in diameter and we will be holding it more at the 12.2 spot. I made a cylindrical hole 12 mm so it is a little snug (it was snugger than I thought). I want the cylinder to be partially in the rectangle, for support, so the hole has to go through that also. I aligned the 2 cylinders on the edge of the rectangle, then moved the rectangle back 8 mm (cylinder sticks out 8 mm). Then I centered the 2 cylinders on each other and grouped all 3. I want some flex in the holder, so I made a 3 mm x 5 mm rectangular hole to put a slot in it. Now to put the holder on the mounting plate. It should stick out 8-10 mm. Align, move, then group….export, print 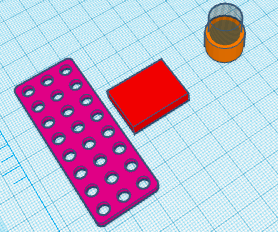 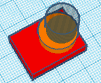 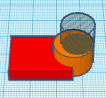 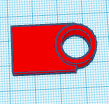 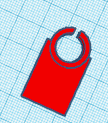 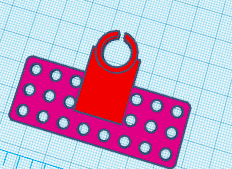  You might have to ream out the holes a little bit when you 3D print. (5 mm reamer or allen wrench or drill bit) They arent always clean. It took my Dremel and Ender ~45 minutes to print - 5 grams of PLA I did end up designing for the front. With the marker on the back there is the possibility of pushing the wheels off the ground. Having made the first one, I have something that can help me measure the lip on the front. Sometimes the holes on both ends of the rear mount didnt want to seat, only 1 end. Maybe there is an issue with “tolerance” in the design, the holes are just a smidge off the longer we build the plate - or maybe it is just the tolerance of 3D printed holes. So I made two different versions of this front mount. One has the plate with holes being 64 mm wide. The other is two smaller plates (2x3 array...16 mm x 24 mm each) put on the sides of a 32 mm blank rectangular prism. 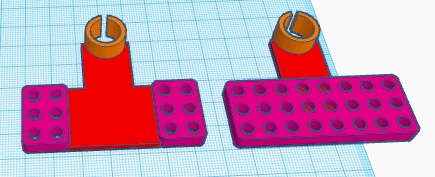 The plate with holes needs to be thicker because we have to get the extending plate above the lip. I made the plate with holes 5.5 mm and the extension 2.5 mm…the lip is 3 mm above the top of Edison. The front edge is about 14 mm from the edge of the plate with holes, so the extending plate needs to be 16 mm (this part inside the other plate) plus 14 mm to get to the front edge, then 7 mm more to only partially wrap the holder. This time I put all the plates together first, then added the cylinders, and finally the notch in the holder. There is one thing that I might work on…the holder. With this front version, the holder is only catching a little of the thick part of the sharpie. Maybe a conical shaped hole part way down to snug it?? Tape works also. 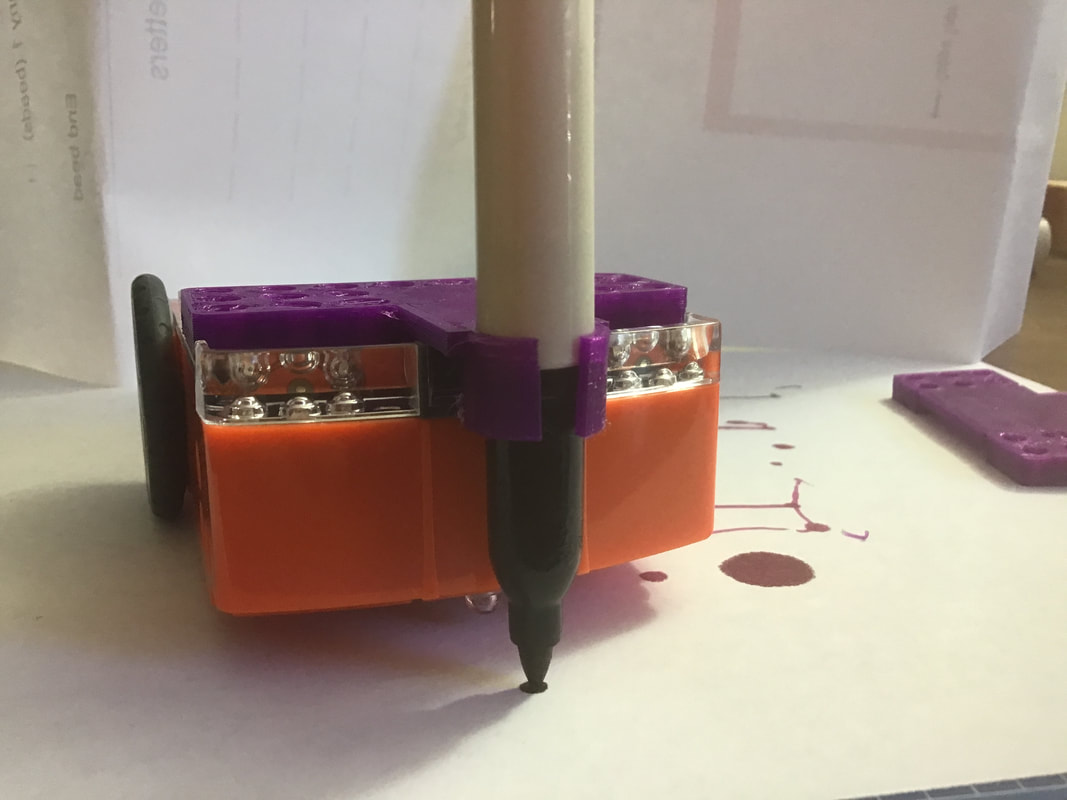 Looks good. Though maybe a second thing to work on... the extending plate might be a little thin - this is how you will pull it off the Edison. So probably need to make that so it wont bend or break...maybe thicker....maybe more infill... 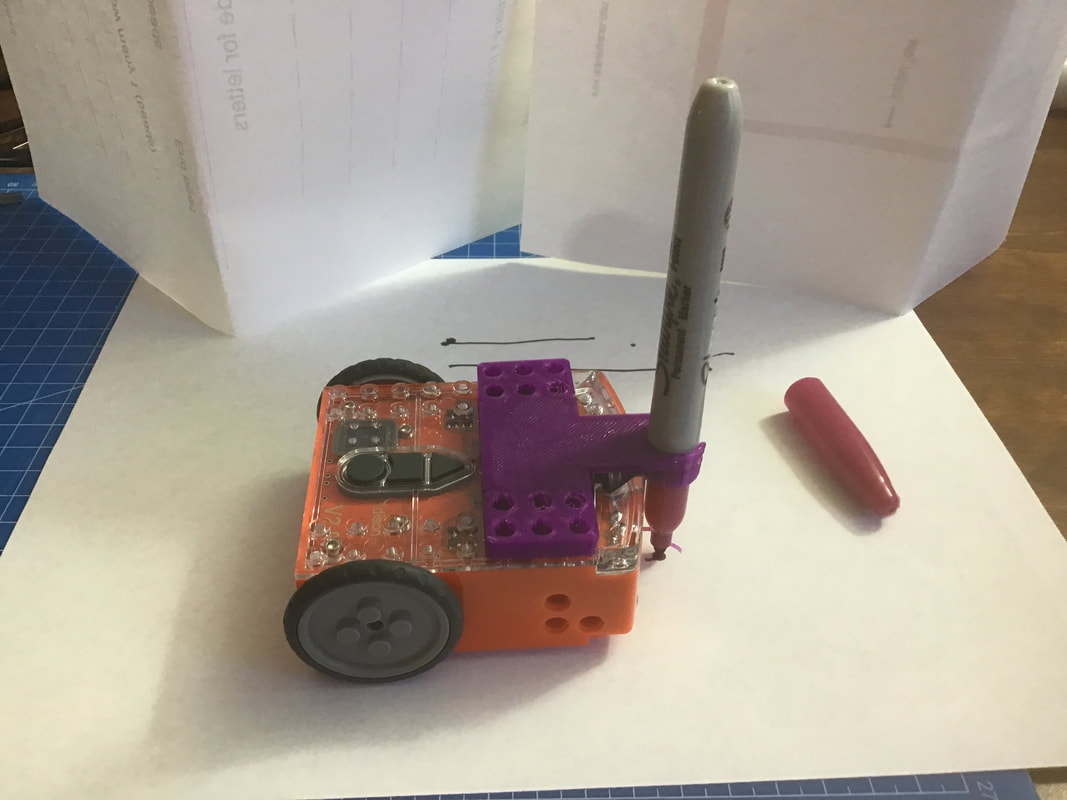 some files ....
Tinkercad Codeblocks file https://www.tinkercad.com/codeblocks/hz1xtnrKGWc v1 & v2 of the front holder https://www.tinkercad.com/things/7UbKyhjA47n v3 - of front holder ... thicker & marker holder is half conical https://www.tinkercad.com/things/7rEA4Qf8jsV
0 Comments
Your comment will be posted after it is approved.
Leave a Reply. |
Archives
December 2022
Categories |
 RSS Feed